Since I am running out of space in my current CD shelves (the MegaBenno), I thought it would be good to build a new shelving unit myself. I have all the tools, I have the time, I have the skills… well, we’ll see. While technique is certainly important, having the right tools helps a lot and should make things easier. Should.
The MegaBenno ended up being a pretty big disappointment, even more so considering how much I paid for it. It cost a little over $450 in materials and the end result was honestly ugly. But I did use it anyway because I didn’t have any other option. The capacity was not as large as I originally calculated, so its end-of-life has come mercifully fast.
After weeks of planning and designing, I settled on a plan of 3/4″ plywood for the frame and 1/2″ plywood for the shelves. That should be simple. You can buy each in 4’x8′ sheets relatively cheaply. So I went to Lowes and bought one sheet of 3/4″ and two sheets of 1/2″. While there, I had them cut the 3/4″ sheet into 6″ strips, because I would not be able to make a 8′ cut accurately with any tool I had, nor would any tool I owned be capable of making so many cuts through 3/4″ wood without dying. I also had the 1/2″ sheets cut into 2’x4′ sections. I should be able to handle cutting 4′ sheets into 6″ shelves. Should.
Considering the MegaBenno was over $450, I made out pretty well only spending $120 on the wood materials..
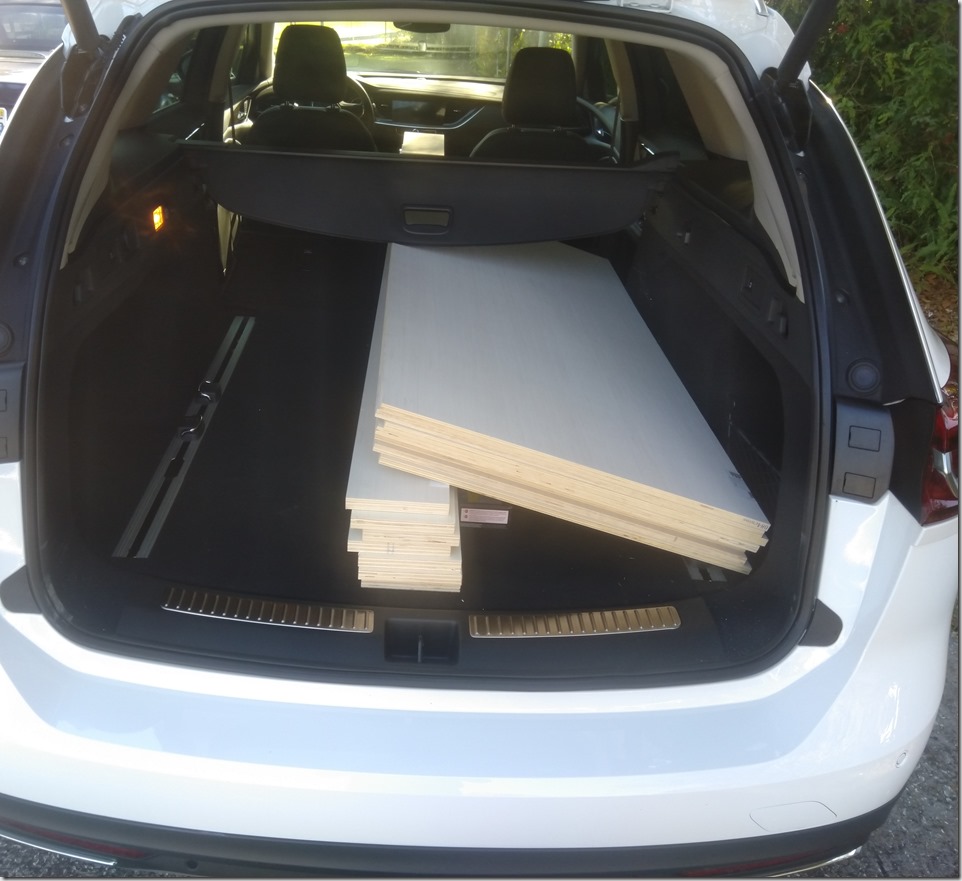
Once home, I chose two side pieces and cut them down to the height I wanted: 92″. My very first cut, not so good. The wood splintered and it ended up at an angle. So now, a 4′ cut looks pretty scary when I can’t accomplish a decent 6″ cut. But I then remembered something I saw in a video where the builder clamped a straight edge to the wood and ran the saw against it to keep the cut straight. I can do that. I just need clamps. And the saw is seizing up a lot, so I think it needs a new blade. Back to Lowes.
I return with a new blade and a couple of clamps. And on that topic, clamps are something you can never have too many of, especially when you are working by yourself. Before I started this project, I had a tiny, cheap bar clamp and a pretty useful bar/screw clamp that got regular use. On one Lowe’s run, I picked up two matching, hardier, bar clamps. Later in the project, at assembly time, I bought a corner clamp, which made attaching the frame and shelves much more precise, since I could clamp the cross piece in place, then drill some pilot holes and screw the pieces together without any movement or slippage.
Before I got started cutting the shelves, I measured and marked up the side pieces for the shelves and the screw holes. After drilling all the holes, I counted up the shelves – 14! That’s a hell of a lot of shelves I need to cut. I can get 4 out of each sheet, so I’ll be cutting up 4 sheets.
On the first sheet, I made my 6″ measurement, then measured again for the saw guide. I clamped the guide to the sheet and began cutting. The saw kept seizing up even with the new blade. Still, I made it through the first cut, which turned out ok. Not great, but acceptable. After inspecting the saw with and without the blade on, I determined the motor in the saw was bad, so I had to buy a new saw. Back to Lowe’s. Again.
Now with a new, bigger saw and a new blade, I set up my guide for shelf cut number two. Somehow, while I felt I was against the guide and it looked like I was on the guide, I wasn’t. I must’ve had the saw twisted because I ended up with a cut that was off the mark, angled strangely, and ragged. And on top of that, the new saw kicked sawdust all over the place, much more than the old one. It was a much worse experience. So I straightened out the cut as best I could and put the shelf in the “maybe, probably not” pile. After consideration, I think the poor cut was because I put the guide on the far side of the saw, which gave me much less control and feedback. All my later cuts had the guide against the near (left) side and were much cleaner.
Now for the final cut for the sheet, essentially cutting the sheet in half. This one was difficult because my sawhorses are cheap plastic shit, so I couldn’t clamp the wood to them, and I still had to have half the sheet hanging off the sawhorse to make the cut. This cut was especially ragged because the sheet was hanging off the edge. That was when I gave up for the night and chose to reflect on the process so far.
The biggest issue I am facing is that cutting off the edge of the sawhorse is difficult and creates messy cuts. But I can’t cut on the sawhorse because the blade will cut the horse unless I am very precise setting the blade depth. BUT… what if I raised the sheet on two planks underneath, making a channel for the blade. AND… what if instead of cutting 6″ from the edge each time, I cut a sheet in half, then in half again (twice). That will keep the weight on the sawhorses, evenly balanced on both sides. It will also mitigate the loss of width I get from each cut. By cutting the sheets in half, the slack will be distributed evenly. I think I have a solution here. This is why it’s good to stop and think about problems.
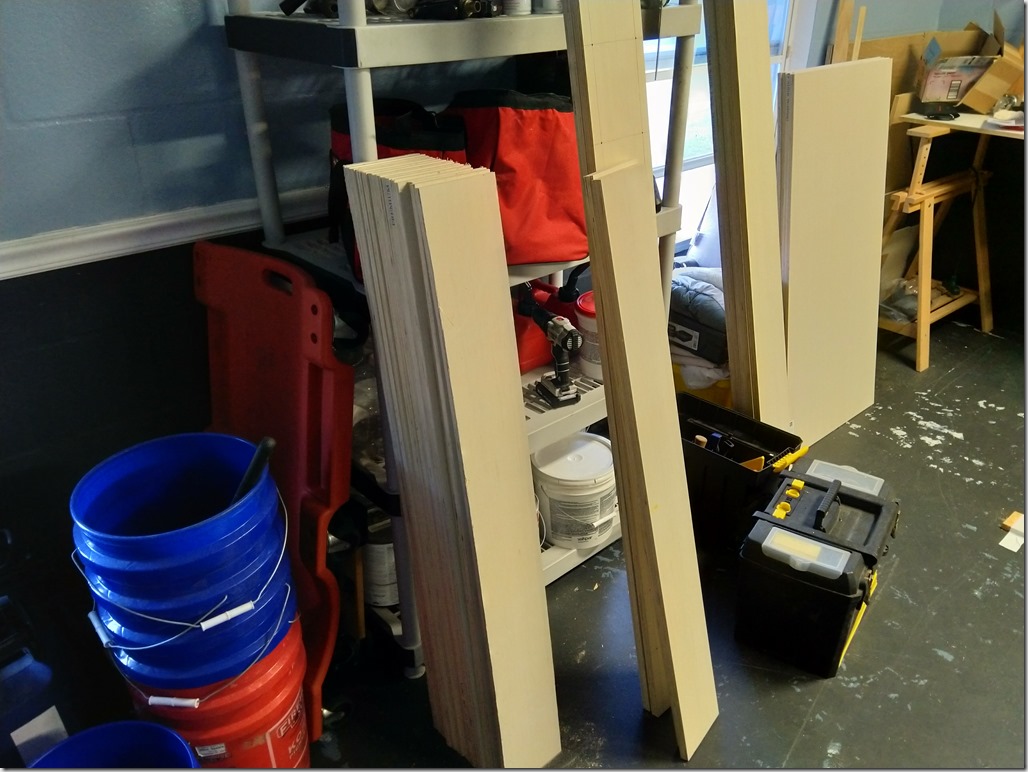
The end of day two had all the shelves cut, sanded, and the first side painted. The plan I came up with the previous night for cutting worked out very well. The sanding portion was brutal. It took a very long time to hand-sand each piece. I think I will be buying an electric sander for building the second shelving unit.
Painting was started with a lot of deliberation. I wasn’t sure if I wanted to try painting both sides of the shelves and frame at once. I couldn’t figure out where to put the pieces as they dried. So I chose to paint one side at a time, letting them dry before painting the other side. This way I could rest the pieces on walls and shelving units as I painted them.
I have a gallon of black paint (named Cracked Pepper) that has been used in various places throughout the house. First on my bar bench, changing it from a dark wood tone to black. Next was the trim in my office. And with both of those projects, I still had more than 3/4 of the gallon left.
I am not a good painter, I readily admit it. It should be the easiest thing to do – smear this color on something until the something becomes that color. But I’m just sloppy and inconsistent. In this particular case, a lot of everything else got painted as well. Luckily, I had the forethought to put paper down on the ground, but I should have put paper behind the painted items as well. Tomorrow, I will have to buy some foam brushes to paint the sides of the shelves, as the big 3″ brush was uncooperative with painting the thin sides.
Day 3 was painting the sides and tops (or bottoms) of the shelves and frame. It was an hour and a half of stooping and bending, but amazingly, for all the paint that dripped everywhere, none got on me. Some of the shelves were glued to the paper on the floor by the running paint from the previous day, so there will be some cleanup later.
That experience led me to consider how to do the painting process better next time for cabinet #2. First thing: stop the stoop. I have some wooden sawhorses that I can raise up to a level where I can paint without bending over so much. Also, instead of picking up and painting the sides of each shelf individually, I should bundle them all together with clamps and paint the sides all at one time. Then split the bundle and lay them all out flat in groups and paint one side with a wide roller. I had been using a brush in order to apply a thicker layer of paint and also to create a bit of grain with the brush strokes, but the result isn’t worth the effort.
I’m going to let the paint dry and cure for another day before I attempt any assembly. In the meantime, I will be prepping the pieces for cabinet #2, mostly just measuring and marking. I don’t want to generate any sawdust while there’s paint around.
Day 5, assembly day. The old unit has been taken down and the room is cleared and ready.
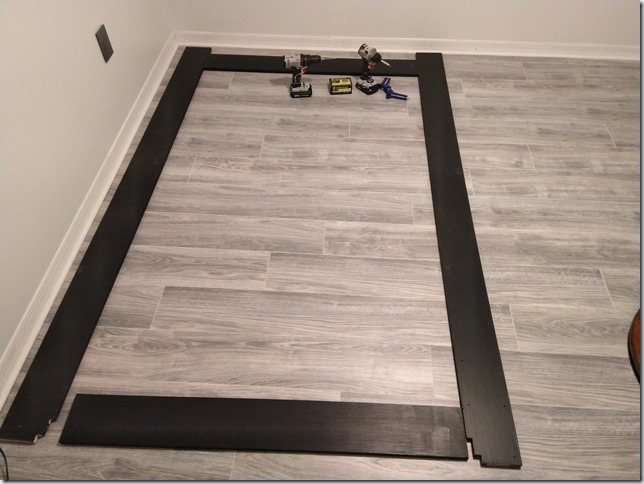
Laying out the frame. I’m building this with the foot away from the wall so when it’s complete, I will lift it from the top and angle it back into the wall. The reason for this technique is if I simply raised it with the feet already at the wall, I would hit the ceiling fan along the way.
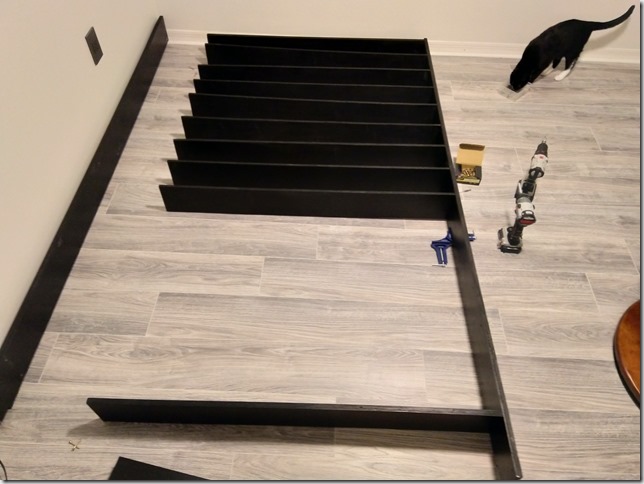
First, I attached the top and bottom shelves and the left side to complete the frame, but then when I went to attach the inner shelves, I found I needed space to adjust, so I detached the left side. So the construction process will be: attach all shelves to one side, then attach them all to the other side.
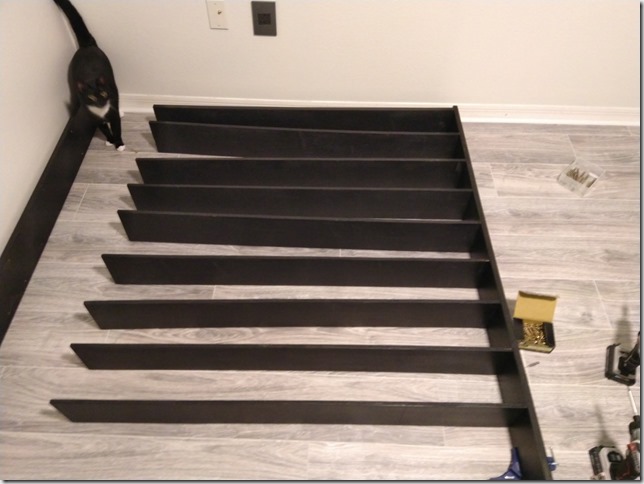
Nearly complete with one side. You can see in this and the previous picture the corner clamp that was invaluable in keeping the shelves straight and level. Some shelves got split despite drilling a pilot hole, but I didn’t stress over it.
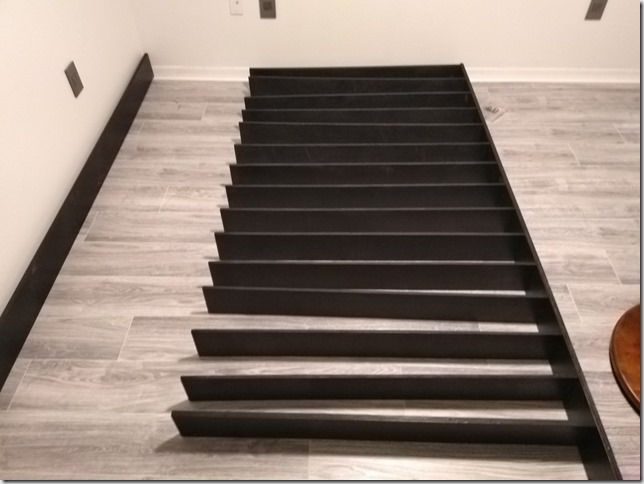
One full side complete. Although some of the shelves look like they’re angled oddly, they will be straightened out when attached to the other side. I used a new tool this time, an impact driver. This tool is specialized for driving screws and it took a very careful trigger finger to not overpower it and run the screw right through the frame.
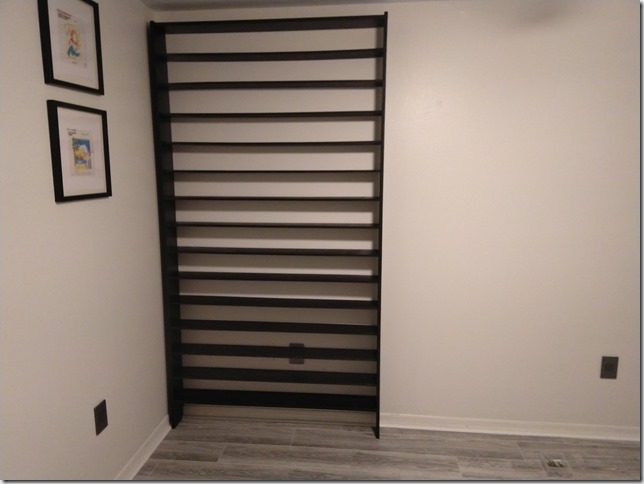
Shelf complete and raised to the wall. I was able to reuse the wall mount from the old unit to secure it to the wall, and I’ll need to add another for unit #2.