Master Bath Progress

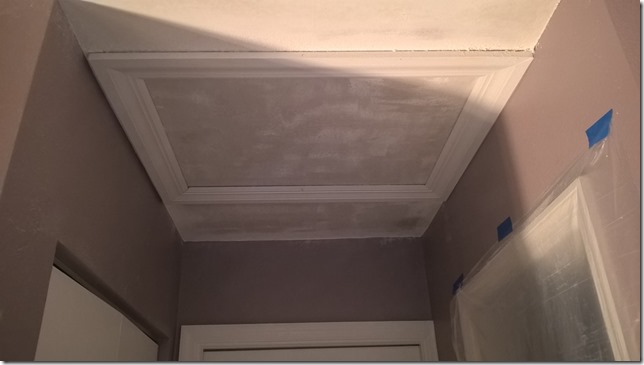
Let’s see, where was I?  It’s been a few months, so it’s hard to tell.  The master bath has been in a paused state.  There’s a couple of ways to go with it.  Both involved new lighting fixtures, which was impossible to decide on.  Going with a single light fixture would be extremely expensive for the size I needed.  Going with two fixtures would involve extra wiring and replacement of the huge mirror.

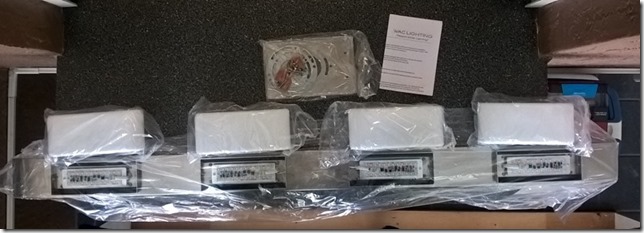
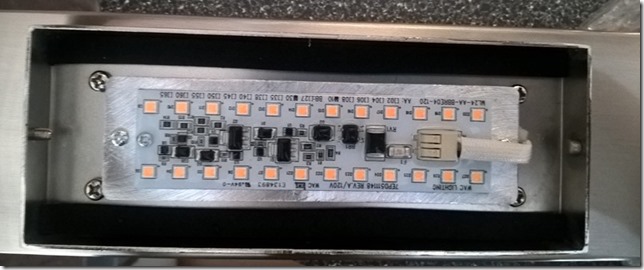
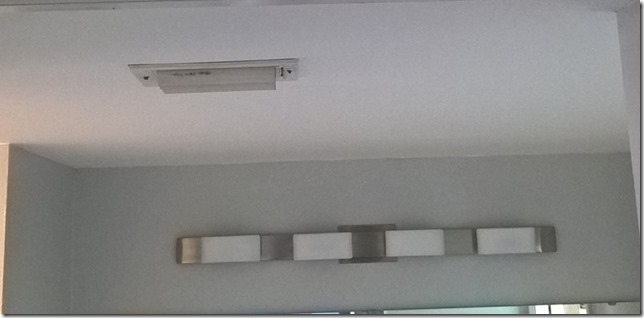
I finally put forth the extra shopping effort and found a 48” LED light fixture that would compliment the other square LED lighting in the room.  The light was $300, which is not bad considering the $700 lights I had been shopping.

wp_20170418_17_10_40_pro

wp_20170418_17_11_33_pro

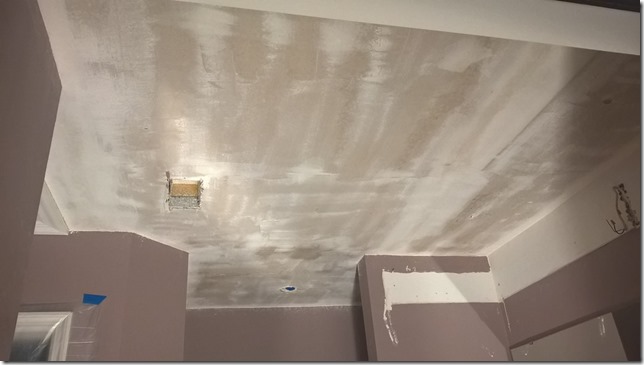
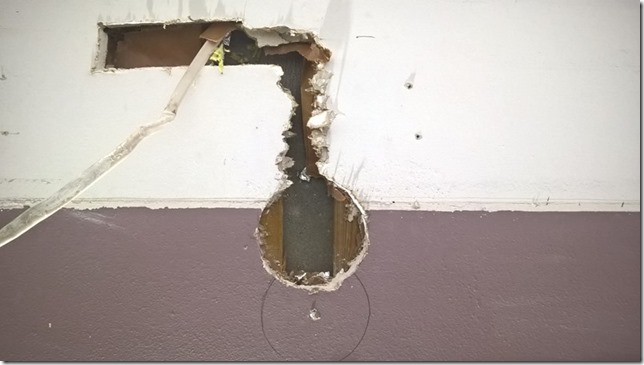
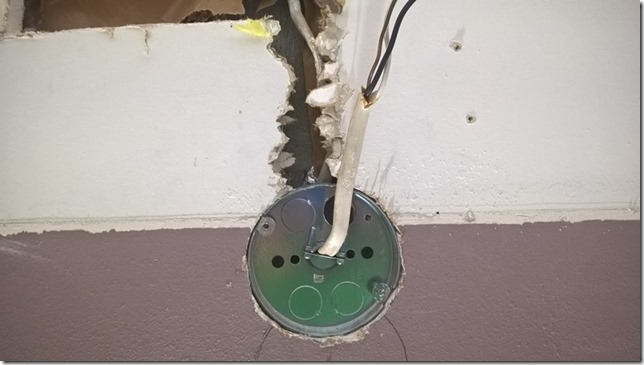
With that decision complete, I now had to install an electrical box for the light.  I used a “pancake” shallow box.  I cut the hole for the box.

wp_20170423_19_10_21_pro

Fortunately my placement let me screw the box into existing furring strips.

wp_20170423_19_12_06_pro

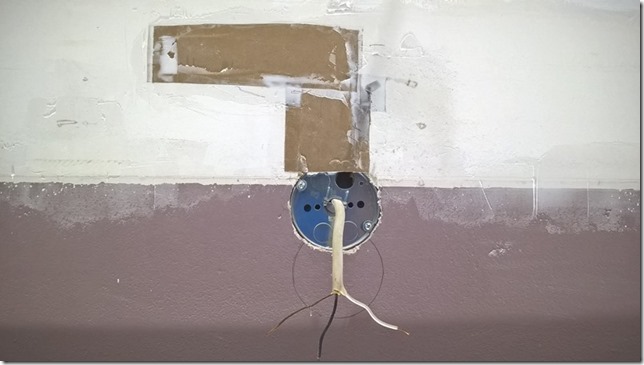
Then it was a matter of patching up the holes I made.

wp_20170426_20_22_51_pro

I expected to get the patching, sanding and priming done by the end of the weekend.  Yeah, right.

Weekend Project – Clean AC Unit

Sunday morning, I woke up and the house was 77 degrees.  I pretty much knew what happened.  Every once in a while, my AC unit “freezes up”, not literally, but  it just stops running.  The thermostat says the unit is running, the interior fans are running, but the compressor is not.  Solution?  Yank the thermostat off the wall, wait a few seconds, then pop it back on.  In a  minute or so, the compressor runs again and everything goes back to normal.

I figured I’d take the downtime opportunity first thing in the morning to clean everything up.  It just happens I bought a new AC filter the previous evening.  I installed that, then went out to the compressor.

You are supposed to clean the compressor fins on a regular basis.  I never have in the decade I’ve owned the house.  So it’s time now.

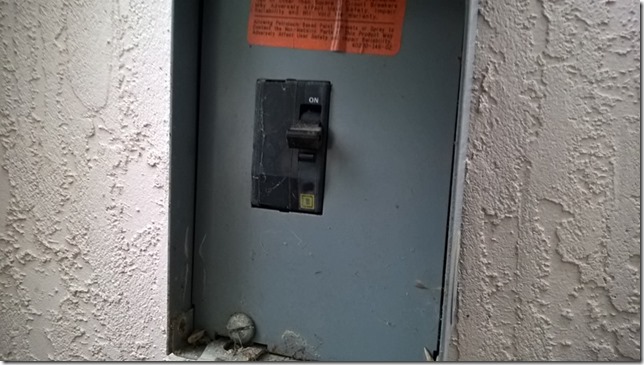
First I shut off the breaker to the unit

wp_20170430_07_24_58_pro

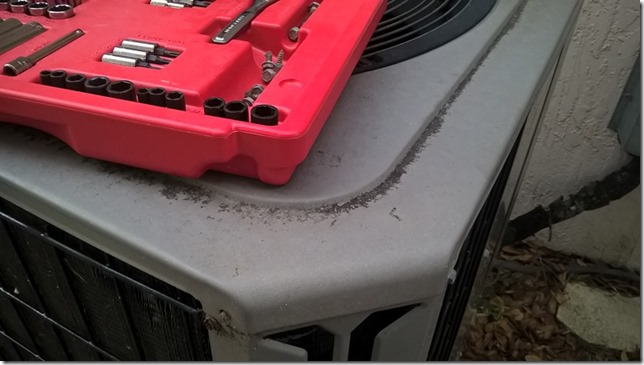
The I unscrewed the top of the unit

wp_20170430_07_24_33_pro

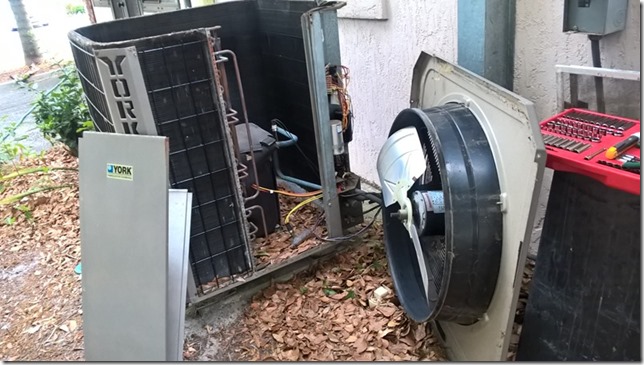
Had to take the access panels off to get the fan off and on the ground.

wp_20170430_07_32_34_pro

I used the hose to spray from the inside out, noting the dirt that was coming through.  I also cleaned all the leaves from the inside of the unit while it was open.  I buttoned it all up and started it up again.

Unfortunately, it seems that the compressor freeze-up is chronic.  In the heat of the day now, it’s stopped three times and resets are only temporary fixes.  Looks like I’ll be calling an AC shop tomorrow.  Wonderful.

Weekend Project – Bed Repair

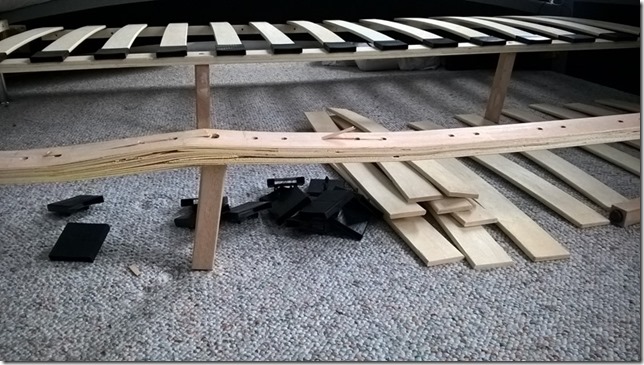
So, waking on up Sunday, I had a house with no AC.  That wasn’t the only problem.  My mattress has been developing a pit.  I was sorely disappointed in this, because I had a new Purple mattress and surely, this modern marvel could not have developed a pit in six months.  Some part of me thought maybe I had broken a slat or two in the bed frame.  I have heard it cracking, so it seemed likely.

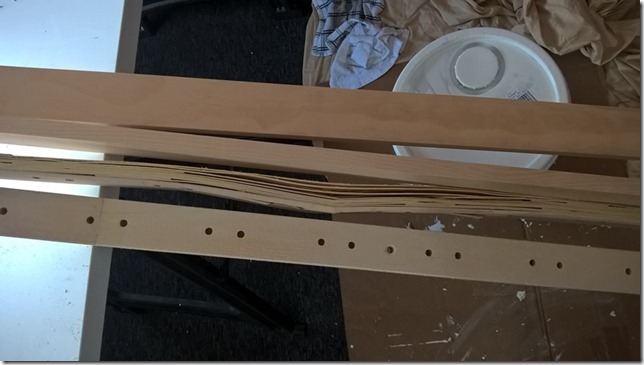
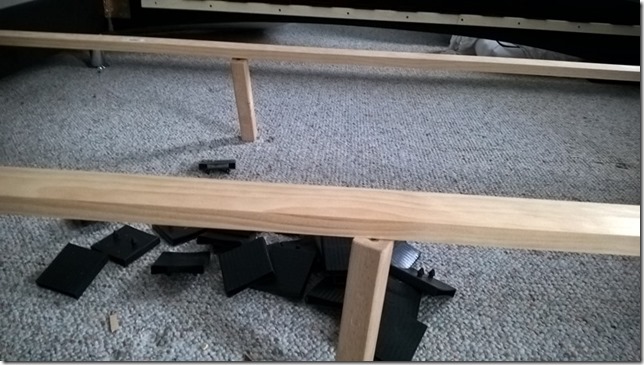
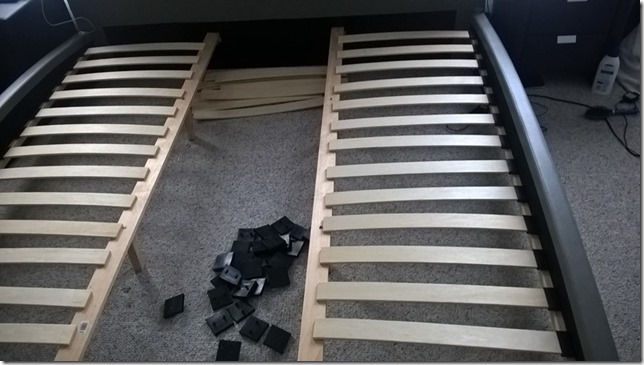
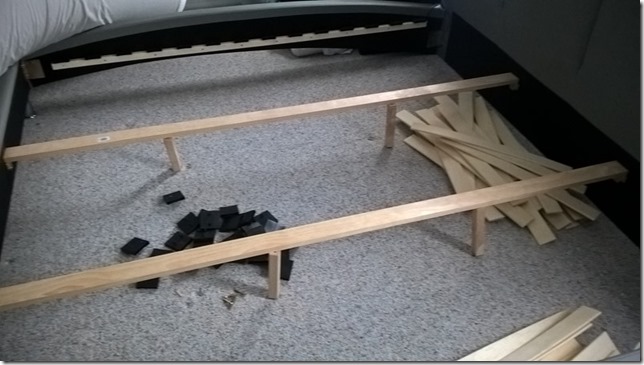
I pulled the 140 lb mattress off and was amazed at the damage underneath.

wp_20170430_10_12_38_prowp_20170430_10_12_48_prowp_20170430_10_22_41_pro

After a brief consideration, I realized how this happened.  While the quality of the support beams for the slats is clearly inferior, the real damage happened when the GF and I moved the bed closer to the wall.  The vertical support legs were dragged on the carpet (weighted down with 140 lbs of mattress.) and were thus bent at a sharp angle.  Getting on the bed after that just finished the job and they collapsed sideways.

So, then, upgrade time!  The quality of the bed frame has been 2nd-rate at best.  I recall the day after the frame was installed, I upgraded the screws on the front wood strip because they barely got into the wood of the frame.  I did some shopping for mattress foundations.  I could get one for under $200.  But I didn’t like the idea of having this box on the floor, preventing anything from being put under the bed.  Other foundations were all too tall, with each bragging how much higher they would hold the mattress.  I didn’t need 14 inches.  I needed something like 8.

The more DIY plan would be to replace the support beams.  I could do that, I think.  I went to Lowes and picked up two 2×8 premium pine boards for $15.  The quality difference is substantial.

wp_20170430_13_02_47_pro

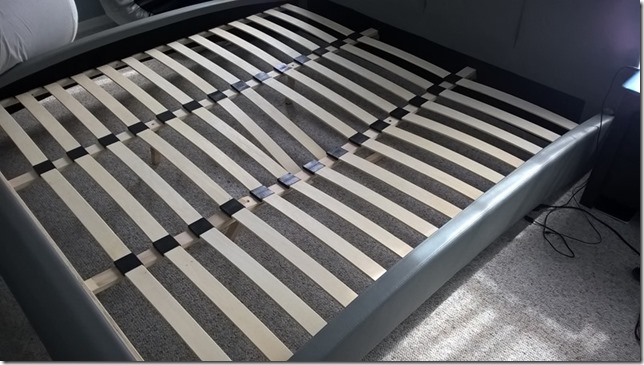
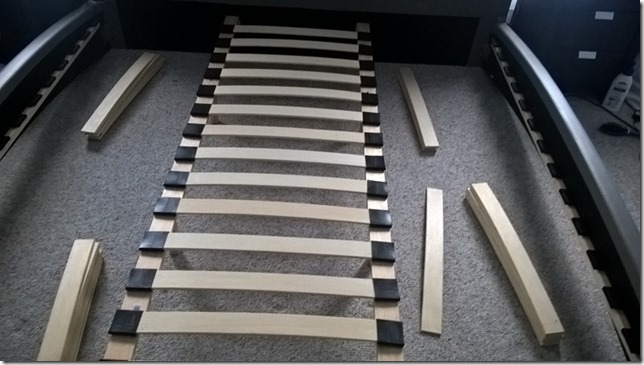
After cutting them to length and mounting the end brackets and midway supports, I did a test fit of the slats.

wp_20170430_13_15_25_prowp_20170430_13_29_56_prowp_20170430_13_15_19_pro

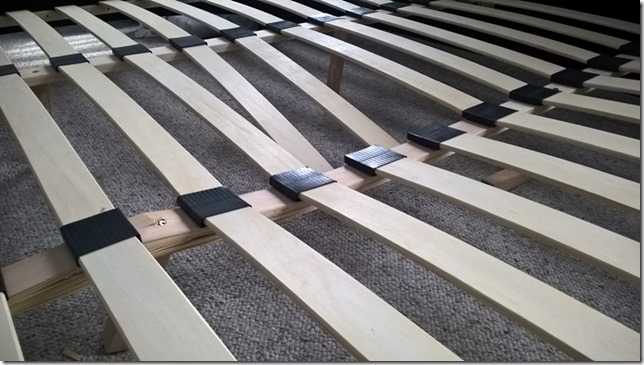
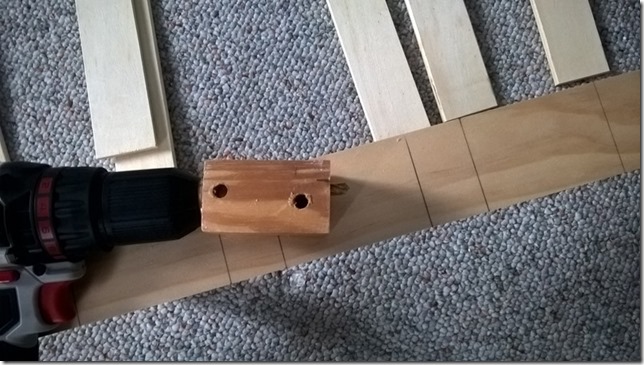
There wasn’t really any way around it.  I had to drill all the holes for the plastic mounting brackets.  I lined up the old support beam with the new one and marked lines for each hole.  Because I just wanted to drill part way into the support and not all the way through, I learned a trick to use a spacer block to keep your drill bit at a consistent depth.  You can see the tip of the bit coming out the bottom of the block.  You can also see all the lines I need to drill holes in.

wp_20170430_14_24_34_pro

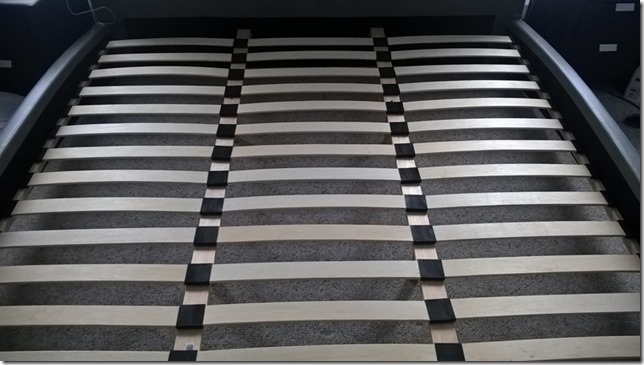
Although tedious, it worked as well as I could have hoped.  I mounted the middle slats with the brackets in all the drilled holes, then finished up with the outer slats.  The testing of the bed afterwards was much needed and the mattress had no sag at all.  And spending $15 instead of $200?  Excellent.  I’m going to need that money for the AC repair.

wp_20170430_14_49_20_prowp_20170430_14_43_44_pro

Master Bath – Wiring Update

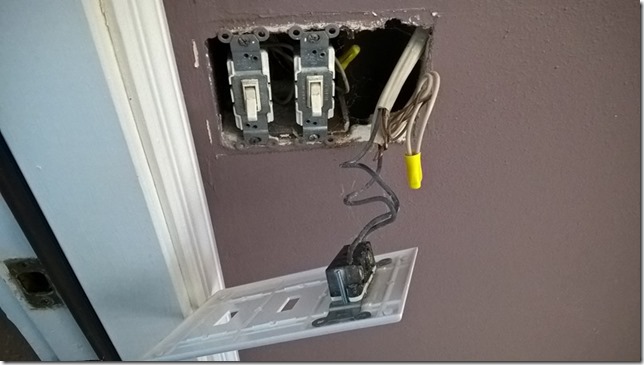
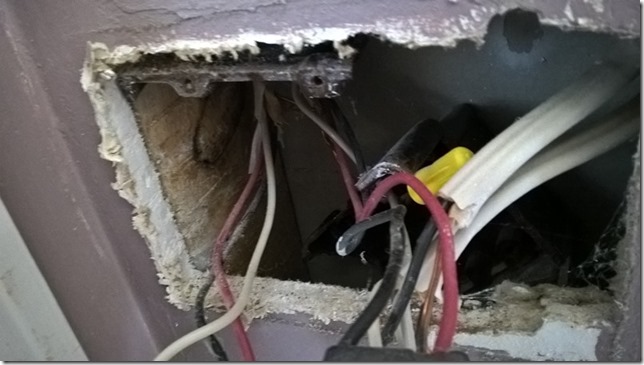
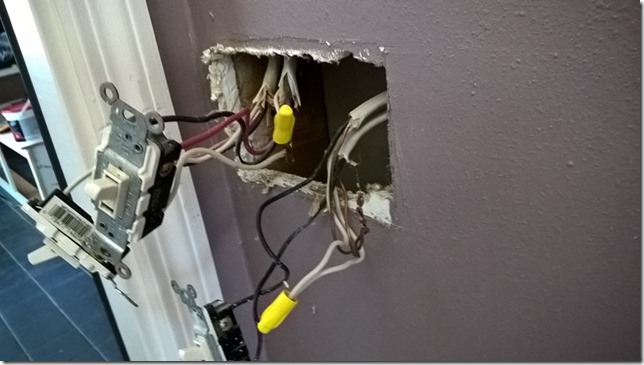
Before I start priming the walls in the master bath, I need to take care of a little problem I discovered a while ago.  When the previous owners put in a pool, they wired the pool light switch into the master bathroom.  However, the contractor cut some corners on that install.

See for yourself.

wp_20170429_17_46_07_pro

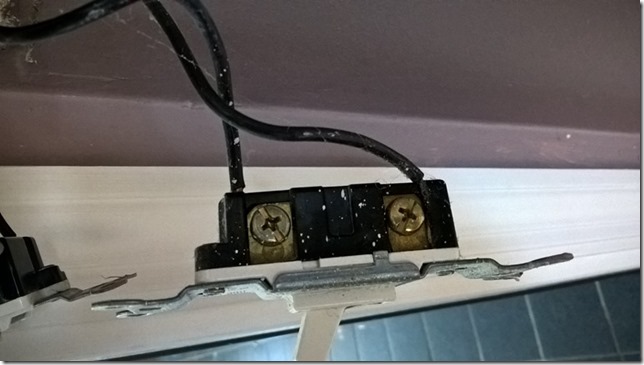
I’m not entirely sure how an inspector would have dealt with something like this other than maybe freaking out.  If it isn’t obvious, this is a two-gang box (with the side cut out of it for some reason) and a third switch is attached directly to the wall plate.

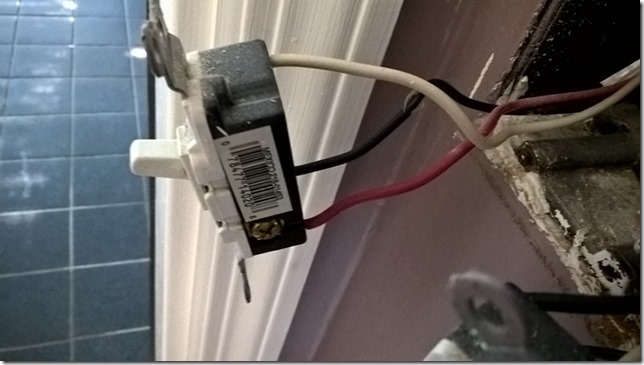
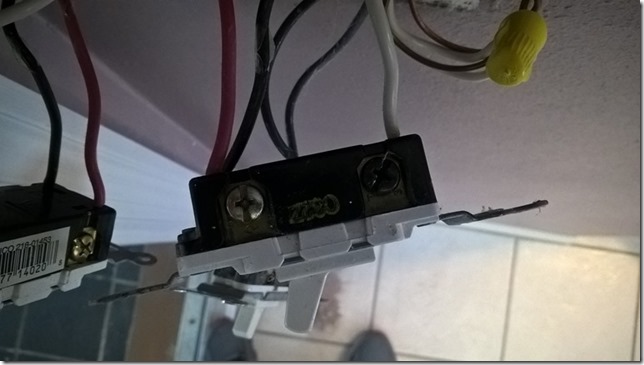
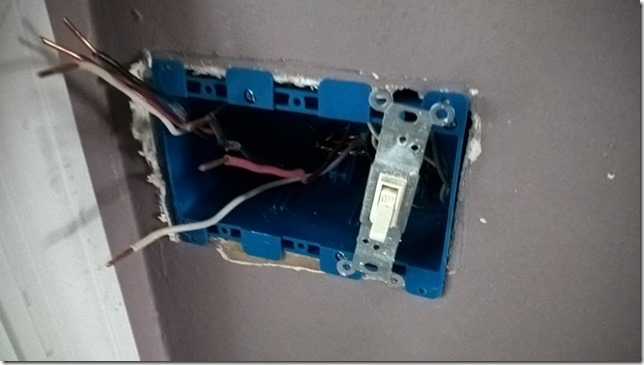
I purchased a “old work” three-gang box (and also a new AC filter which would be employed soon after).  I made sure to document the wiring of all the three way switches.  I’m not going through that crap again.

wp_20170429_18_02_45_prowp_20170429_18_01_57_prowp_20170429_18_02_28_pro

Then I used a hand saw and cut out the old box.  I broke it apart with a pry bar and it’s lost to the inside of the wall now.

wp_20170429_18_10_38_pro

wp_20170429_18_12_09_pro

I disconnected the switches, ran the cables through the new work box, then fitted the box and reattached the switches.

wp_20170430_09_12_48_pro

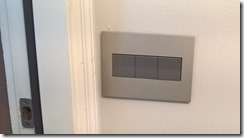
Like all the other rooms in the house, these will be replaced with Adorne switches.  It’s good to have a nice, new, deep box to install into.

Replacing Door Hardware

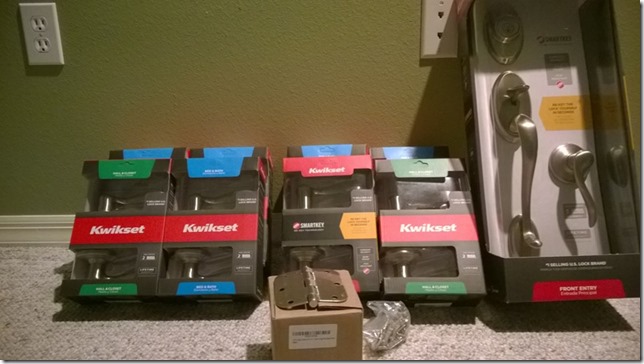
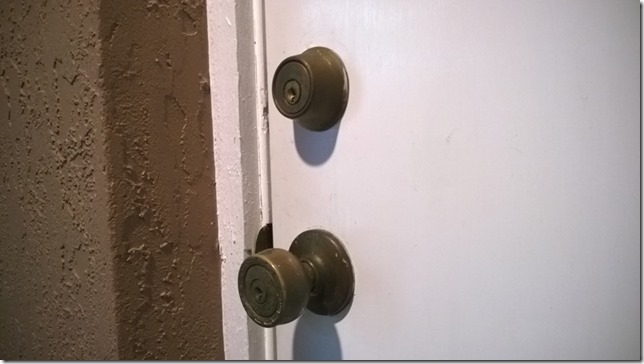
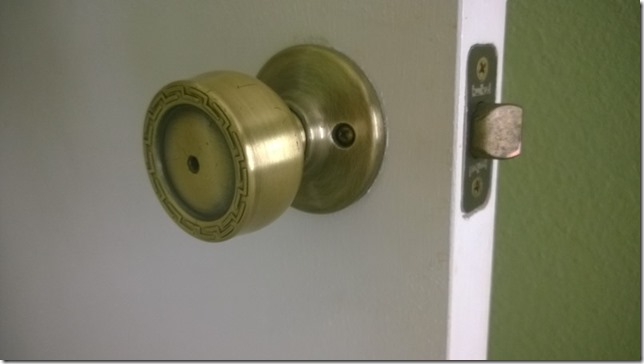
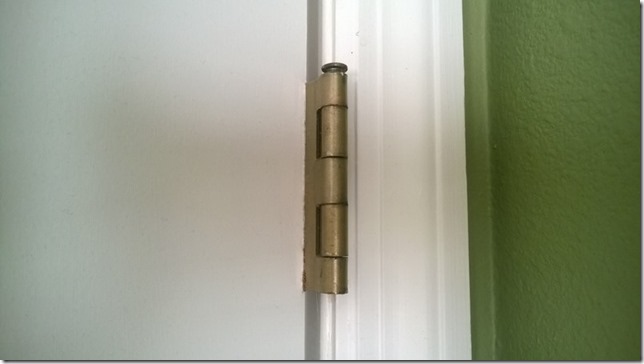
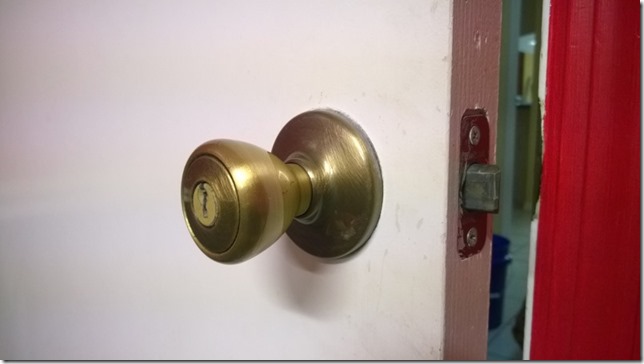
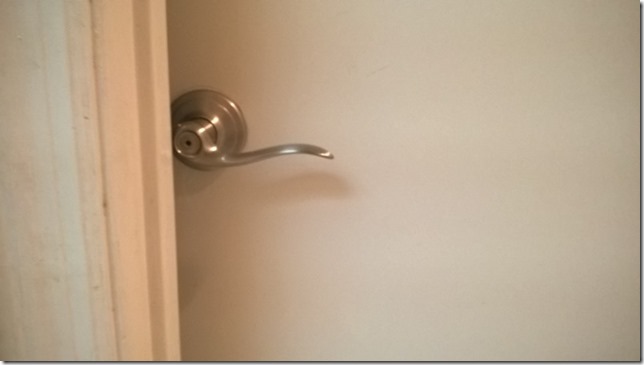
With the ever-extending project of the master bath (current status: primed and ready for paint), I was getting a little down about the progress I was not making.  To try and jump start that enthusiasm again, I started replacing the hardware on the doors.  I had everything I needed – I bought everything way back when I started.  The handles and hinges have just been sitting and waiting.

wp_20160701_008

I had already changed the hardware on the front door and over time, I had changed out the handles on a few interior doors.  But that stalled as well.  Just as a note, the hardware I’m replacing is terrible, old, faded, builder-grade brass.  The handles are all very loose and wobbly.

wp_20160701_010wp_20160625_001wp_20160625_005wp_20160701_009

Along the way, I wanted to fix a problem I had with my office door.  At the end of the hall, there are three doors: the bathroom, dead ahead, and bedroom doors off to the left and right.  One of the bedrooms is my office and it has an issue when you close the door.  The door binds with the frame and when you open it up again, it makes a loud pop (actually like a bang).  I have been under the assumption that this problem exists because the wrong door was put on the hinges a long time ago.

Let me explain that dumbness.  When I first got the house 12 years ago, one of the first things I did was paint the doors.  Being inexperienced, I pulled all the doors off and painted them all at one time.  I didn’t mark any of the doors, so… I assumed I just mixed them up and the hinges or whatever weren’t cut the same.  I figured while I was updating the hinges to nickel, I might as well get the doors right this time.

I started by taking the office door off, then taking the bathroom door off.  Since I was working with three doors, if swapping these two didn’t make an improvement, the correct door would obviously be the remaining one.  I put the bathroom door on the office hinges and closed the door.  The result was not what you would expect.

wp_20170626_21_13_05_pro

The bathroom door is a totally different size.  Ridiculous.  So the door comes back off the hinges and goes back to the bathroom.  So now I know that the two bedroom doors are just swapped.  Simple.  I take the bedroom door off and slide it across the hall to the office.  But… it won’t fit either.  One bedroom door opens on the left side and the other opens on the right side.  There’s no way to swap any of these doors.

I guess I had it all correct the first time (there wasn’t any way to mess it up).  So I continued with the hinge change-outs and the office door now closes and opens without any bangs.  Wonderful.  Every time I change out a door handle, I am always impressed with how solid the door feels when it opens and closes.  The vibration of the handle and latch in the old hardware, which would rattle slightly when the door would close, really gave a negative impression.  Aside from the improved looks and the ADA-compliant benefits, I would definitely say that updating the door hardware will make a big improvement on the quality of your house.  Let me clarify that.  The feel of operating the improved door hardware in the house will be what is expected.  The old hardware only hurts things by being loose and rattling.

Art and Greenery

One bullet item on my list was to artify my house.  Overall, my walls have been quite bare.  I’ve owned a couple of nice original art pieces for decades and they were the primary design element for the master bedroom.  One other piece I purchased, I spent a rather large sum on to get professionally framed and that piece now hangs in my office.  I also happened across two large original pieces by the same artist at two different furniture stores and bought them both, providing consistency to my living and dining areas.

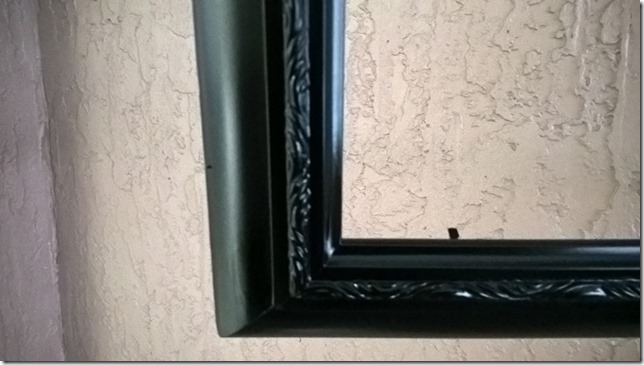
I had two other pieces of art I wanted to frame and utilize somewhere.  One was in a gold frame and was wrapped in plastic and the other was just loose in a tube.  My first plan was to repurpose the gold frame, so I released the painting from the frame, which was a sticky mess.  Then I spray painted the frame black.  Then I began to look into cutting the glass for the frame, a task which would also need to be done for the second painting.

wp_20170627_19_51_19_pro

Along the way, the GF and I spotted some poster frames at an art store that would let me mount the paintings in a floating fashion.  The painting would be sandwiched between two pieces of acrylic with a clear border where a mat would normally be.  Now, I understand that is not what you would want to do with fine art, since the contact of the glass with the art could be nothing but detrimental.  However, these aren’t exactly “fine art”.  They’re nice, numbered reproductions, but they’re not originals.

Seeing the paintings in the floating frames, I don’t have any regrets on the decision to use them.  And I returned all my framing tools, so I don’t have to worry about learning a new skill now.  Where I had originally budgeted $200 for framing of one of the paintings, I ended up framing both for $60.

wp_20170706_19_49_06_prowp_20170706_19_48_11_pro

A step closer to reality is my massive project of CD cover printing.  I’ve ordered 40 – 15” black frames.  That’s one piece.  I also need to buy fine art paper, a photo printer, and photo mats.  There’s a slight concern about how the matting will work, so hopefully it works out for the best.

wp_20170706_16_58_38_prowp_20170706_16_52_18_prowp_20170706_16_56_48_pro

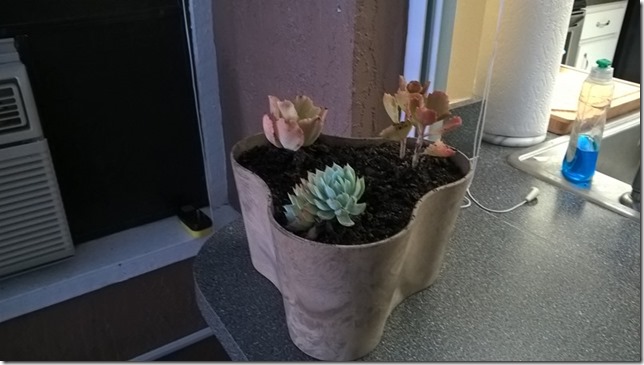
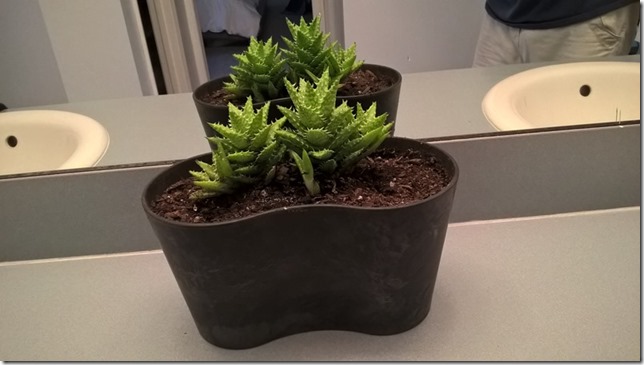
On another topic, plants!  When purging the house of the previous occupant’s junk, I saved a couple of neat planters which had given me an immediate image of how to populate them.  I picked up a small cluster of succulents and potting soil.  I broke the cluster of plants up and divided them into the planters.  I’ve never had plants of my own, and the house has been plant-free for many, many years.  So this is bold, new territory for me.

wp_20170705_18_51_16_prowp_20170705_18_52_02_pro

Master Bath Changes Everywhere

A bunch of updates in the house this week, which also means money was spent.  But there wasn’t any way around it and it had to happen some time.

Painting (finally)

This is something that took a stupid long time.  The room was taped off for a long time, then it was primered for a long time.  Finally, the paint has gone on and the tape has come off.  The color is a light grey, lighter than the shade in the master bedroom.  It blends fine with everything from the green/turquoise vanity top to the terrible pink shower tile.

Installing the vanity light

The light for the vanity, an LED beast, finally got installed. To be honest, it’s too much light.  Maybe I say that because I’ve had to work without any light for so long, but it is very illuminating.

wp_20170704_11_27_19_pro

Updating the fixtures

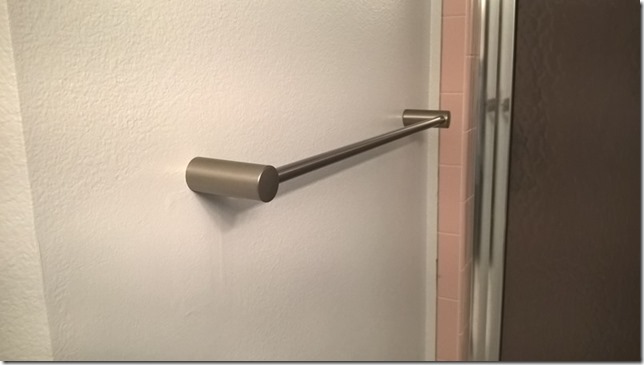
I had my eyes on some Moen fixtures, which aren’t cheap, but are very nice.  One of the requirements was no visible screws – that’s something that exists in the guest bath fixtures and generally annoys me.  The styling is quite modern, and while it doesn’t mirror any of the lines of the cabinet pulls, they should be able to stand alone.  I may update the faucets at some point to complement the style.

wp_20170705_21_36_53_pro

Updating the switches and outlets

The Adorne switches and outlets items are all in.  I chose to use the plastic wall plates since the master bath is not generally a public-accessible room.  One new element in this install is a timer switch, which I have hooked up to the exhaust fan.  I’m always leery about running the fan because a) it’s loud, and b) if I only run it while I’m in the shower, that’s not enough time.  But if I leave it run when I’m done with the shower, I won’t be able to turn it off for hours and hours.  So, the timer switch will let me run the fan for 60 minutes after I’m done.

wp_20170706_18_27_30_pro wp_20170706_18_27_48_pro wp_20170707_18_09_08_pro

Upgrading the toilet

This room still has the original toilet when I bought the house, which may be the original toilet when the house was built.  It’s time to move on.  Its replacement is a modern-tech design, with what is called a “rimless” bowl.  This appealed to me because the last months of the old toilet seemed to exhibit a problem with mold building in the openings of the bowl rim.

Laundry Room Storage

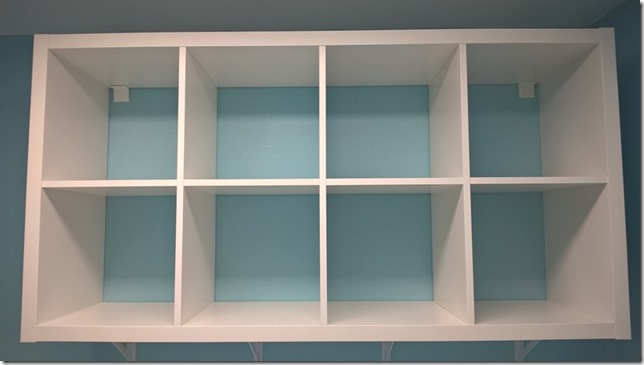
I had been stressing for a long time about installing cabinets in the laundry room.  They are expensive and even more so with the modern style that I wanted.  Every week I would do laundry and have to juggle the baskets, cleaning rags, detergent, and dryer sheets, all of which sat on top of the washer and dryer.  I also folded clothes on top of the dryer, so even more juggling.

While watching an excellent video series called The Weekender, Monica, the host, suggested installing cube dividers on the wall in a laundry room.  It was just what I needed.

While you can get cube dividers just about everywhere, I was sort of fixed on Ikea’s Kallax line, with their big thick frames.  However, Ikea specifically says you cannot install a 2×4 Kallax on the wall.  To read between the lines, they say you can’t mount it on the wall using the stock mounting hardware.

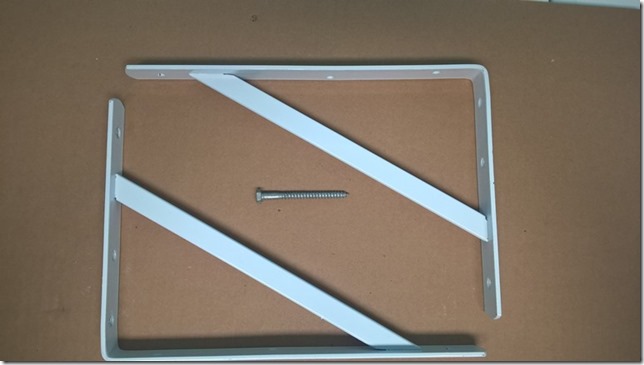
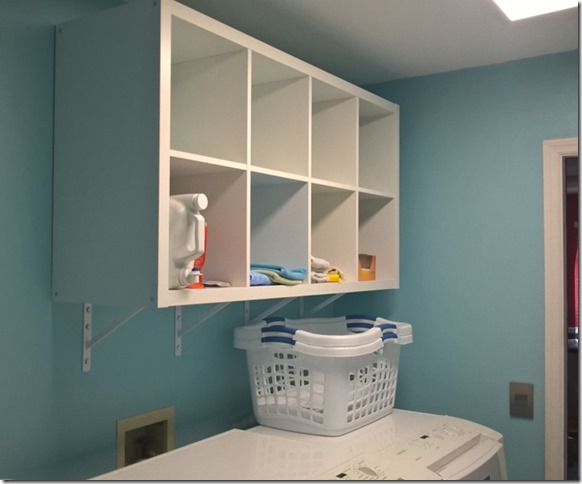
Monica from The Weekender wasn’t using a Kallax, but she did mount the storage unit to the wall with reinforced L brackets, which is what I did as well.  About $30 for four heavy-duty brackets (500 lbs load each) and lag bolts, plus $65 for the Kallax and it was a go.  I originally expected to spend about $500 on cabinets.

wp_20170705_18_50_09_pro

First, I used a stud finder and marked the edges of all the studs in the wall.  I would need to screw into the studs with the weight I’m working with (2×4 Kallax is about 75 lbs).  I measured where on the wall I wanted to mount the unit vertically, then marked a straight line for the brackets using a straight edge and level.  Then I marked the screw holes while holding a bracket at the straight line and between the stud edges, also using a level to ensure it was completely vertical.

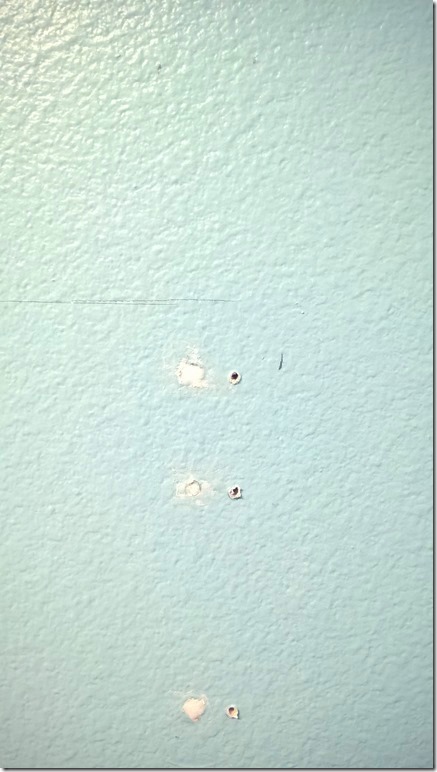
Lag bolts are thick, so pilot holes need to be drilled to prevent cracking.  When I drilled the pilot holes, I was concerned that I wasn’t getting any wood chips back out.  I test mounted a bracket with one screw and put some pressure on the bracket.  It ripped right out of the wall.  So I made the assumption my lag bolts were WAY too short.  I purchased 1.5” and I probably should have purchased 2.5” or 3”.

After getting longer screws, I drove one in to see when I would hit the stud.  It never happened.  Huh?  I grabbed the stud finder and ran it over the holes I had made.  The stud was not there; it was about 2 inches to the right, which did not line up with the stud edges I marked about 6 inches above.  What a bunch of shit.

So I drilled new holes where the stud really was and got wood in the drill bit.  Then I patched up the old holes and left them to dry for the night.

wp_20170705_18_49_11_pro

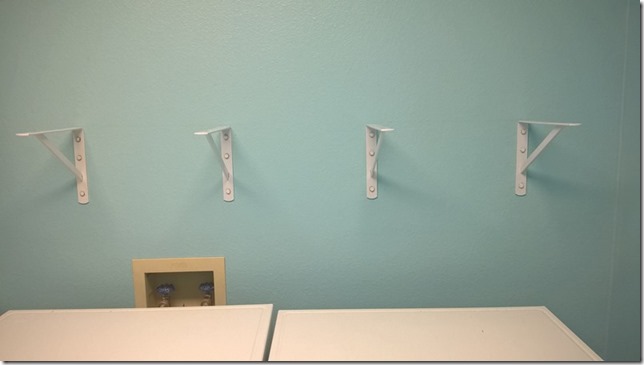
The Kallax is just short of 58” wide, which means mounting four brackets on four studs gives 48” of brackets for support.  The unit also has some standard mounting brackets for the top, which provide not much more than tip-prevention.  Those will be well-suited for the top of the unit.

wp_20170706_19_14_04_pro

With some help from my neighbor, I got it hoisted up and mounted

wp_20170707_18_42_19_prowp_20170707_19_00_17_pro

Next will be baskets and doors.

A/C Issues

Over the last couple months, my A/C unit has cost me almost $1000.  To be fair, I haven’t had to bite the bullet and drop $7000 on a whole new system, but that time is probably coming soon.  I’m hoping to get through the killer summer months.

A couple months ago, I mentioned how I was going to clean the A/C unit while it was down.  What happens is that the thermal switch in the compressor overheats and shuts the compressor down.  This shutdown signal isn’t sent back to the thermostat, so the thermostat thinks things are still running just fine.  The blower keeps blowing and the thermostat says the system is cooling and the fan is running.  To reset this condition, I have to pull the thermostat off the wall and replace it, which then makes it read the current status of the compressor and starts everything back up again.

Well, after multiple resets, I had to call the repair company.  I felt a bit foolish afterwards because the problem was just a bad cooling fan motor.  Like, I’m so oblivious that I couldn’t troubleshoot that the cooling fan on the compressor wasn’t turning.  That part was replaced for a little over $300 and I was back in business.

Last weekend, the house went up to 84 degrees again.  I instructed the GF how to reset the thermostat until I got home.  When I did get home, things were a little better but not much.  That’s when I noticed the strange noise, like ocean waves.  It was the blower in the attic ramping up and shutting off, over and over again.  So this time, the compressor was running fine, the thermostat was saying everything was fine, but the blower was unable to supply enough cold air to the house to lower the temperature.

I put the house into emergency cooling mode.  I closed all the blinds and pulled the curtains in all the rooms, closed the doors to all the rooms, closed off the vents and return in the game room, and turned on a window A/C unit on the lanai.  I redirected the cool air into the house with a desk fan.  You may think that’s funny, but the window A/C unit was able to keep the main part of my house (and sometimes the open master bedroom) at 78 degrees.  And it did it for four days straight.  That A/C unit hasn’t been run in years and stepped up to the task of cooling a whole house on a moment’s notice.  Bravo, Kenmore.

I called the A/C tech in on Saturday and he identified that the blower motor needed changed, but he didn’t have one.  It was a variable speed motor and they are specific to the exact make and model of A/C unit.  They are also really expensive.  So, repair was put off until Monday.  On Monday, the repair company tried to contact the manufacturer for pricing and availability to no response.  So at the end of the day it was decided to swap out the motor with a single-speed version.  Monday night, I did a lot of research on variable speed motors and learned they have some significant benefits with regard to humidity control.  But, since the whole system is in its final days, running a single-speed blower will do for now.

The tech came out Tuesday afternoon and quickly swapped out the motor.  Looks like something I could have done myself, but, let the pros handle that mess.  $600 for the motor and installation, and I was back in the cool life.  The window A/C unit earned itself a nice long vacation, too.

Referencing my electric company’s usage graph, you can kind of see what happened on Saturday the 15th.  The A/C compressor was running non-stop because the thermostat said to.  Midday on Sunday the 16th, I was worried about burning the compressor out, so I shut off the central air and just left the window A/C unit on.  The 17th, the house was only cooled by the window A/C.  Midday on the 18th, the central air was restored.

image

The Big Art Project

One of the projects I have on my list is to create a large set of pictures featuring CD covers.  The collection of pictures can be swapped out for others to create different moods and maintain a fresh feel.  This project isn’t exactly cheap, just because of its scale.  The CD covers I plan to use are from the MCA Master Series.
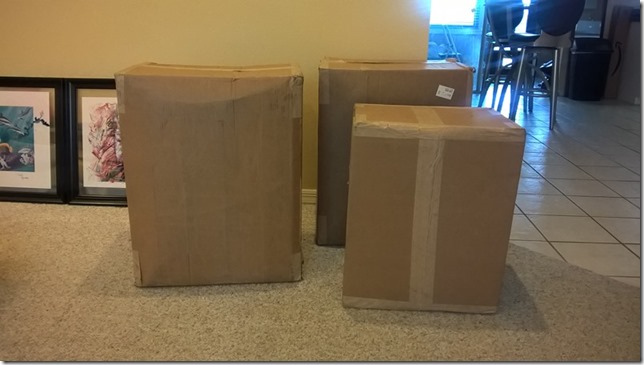
The first expense is the frames.  I can’t exactly buy serious photo frames in the quantity I am working with, so I purchased MDF and acrylic poster frames from a business display store.  40 frames cost me almost $300.  The packaging of these frames was ridiculous.  I received two large boxes and a smaller box.  Inside each of the larger boxes was two of the smaller boxes, giving me five smaller boxes in total.  In each of these smaller boxes were two even smaller boxes.  Now 10 smaller boxes in total.  Each of these 10 boxes had four frames in them, giving 40 total frames.  Insane.

The next expense is the photo mats.  The frames are 15”x15” and have a small mat in them with an 11.5”x11.5” opening.  I was planning on printing my CD covers on 8.5”x11” paper, so that means they won’t fit in a 11.5” square opening.  To solve that issue, I bought mats that were 12”x12” and had an 7.5” opening.  Those numbers weren’t exactly arbitrary, they were based on the availability and convenience of 25 packs of those mats.  50 mats cost about $90.

Then, there’s the paper.  It’s standard size paper, but it’s awesome paper.  I found 50 sheets of 230gsm fine art paper for $25.  I don’t know much about it, and maybe someday I’ll use something different, something with a texture.  But this paper is nice, thick cotton and shows well.

Finally, the printer.  I chose a 6-color photo inkjet printer and fortunately got one in wide-format (so I can do 11”x17” in the future).  The quality seems pretty good, for as much as I am able to discern.  I’m not using a magnifying glass to inspect the print quality and I don’t expect anyone viewing these on the wall will do so either.  So with all the components now in my possession, it was time to start.

My very first test was printing the CD cover at its natural size, 4.5”.  The quality was good, so I mounted the paper on the mat, then mounted that mat in the frame’s mat.  The result was a little underwhelming.

wp_20170712_20_24_11_pro

The next attempt was filling the mat’s opening, so I printed one at 7”.  The result was a little overwhelming.

wp_20170713_18_50_13_pro

Then, I tried to find balance with something in between: 6”.

wp_20170713_20_52_47_pro

I thought it was balanced, but the GF made an excellent point that there were too many borders.  The outer mat, the inner mat, then the border around the CD cover.  Considering that for a bit, I could see the layout put more focus on the layers and kind of gave a tunneling effect.  So it was decided to fill the inner mat with the CD cover, printing it at 7.5”.  Even though that’s bigger than the 7” version that I thought was too large, eliminating the inner border somehow doesn’t make you question the size.

wp_20170719_18_22_08_pro