Category Archives: The Anchor - Page 6

Resource: Lumens.com

As I’d mentioned in previous posts, I am dropping a lot of money on fancy electrical switches and outlets to hype up the look of my house’s interior.  It’s not cheap at all.  But another aspect of this plan is that it is slightly overwhelming.  Product-wise, I have 3 different switches, 2 different outlets, and 4 different wall plates.  These products are used in varying combinations in 9 different living areas.  As I go room by room, I need some sort of way to know what I will need so I can place an order and have the parts ready to go.

While shopping for the best prices, I found that the website lumens.com had as good or better prices than a lot of others.  When I went to place an order for the master bedroom, I discovered a great feature that’s earned my future business with that supplier.  That feature is “My Projects”.  For a contractor, I think this would be invaluable, but even just for me it has a lot of value.

The Projects feature is, at its core, a saved shopping list.  But each project can be divided into different rooms, with descriptions and notes for each.  I was able to add the switches, plates, and outlets for each room into my project so I could see easily what was needed.  The project shows the total for everything you need and you can add the entire project to your shopping cart or just one item from one room.  It’s a great organization tool.

While I was building my list, I found I missed a couple of switches for one room.  The Projects page provided a great feature “Copy to another room”, so I found the switches in another room and copied to the room where I needed them.  I didn’t need to use this, but “Move to another room” was another option.  It’s very well thought out.

So, the future damage for all outlets, switches and wall plates is currently $776.  Yikes.  However, using this tool, I can just work on switches and do the outlets later.  It will remember what I need where.

image

Installing the Adorne Switches

With the paint finally complete in the room, I was able to begin changing out the outlets and switches.  The very first thing I did was make a big mistake.  I disconnected the first 3-way switch without marking any wires.  The second thing I did was make another mistake by installing everything completely before testing.  That resulted in tearing everything apart and doing it all over again.  And in the case of the 3-way switch, over and over and over again.

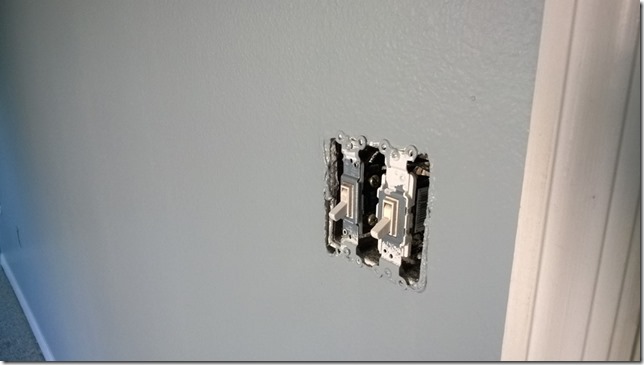
Friday after work, I started with the light and fan switch, figuring I could get that done fairly quickly.  I ended up running out of daylight.  When I started, I just had the standard switches, one for the lights and one for the ceiling fan.

wp_20160923_002

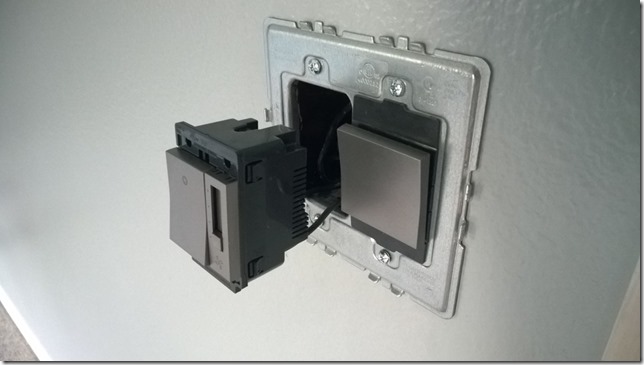
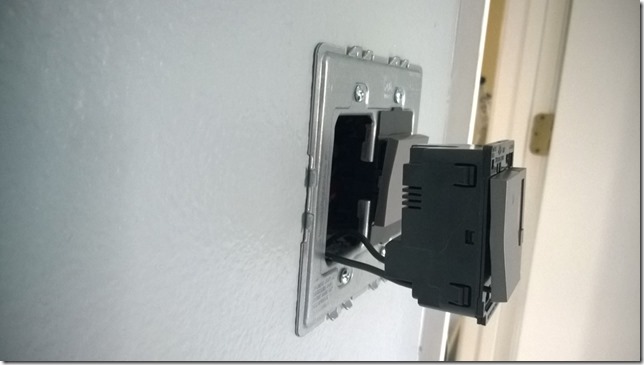
I fitted the frame and got the light switch installed, then installed the fan switch.  There was very little room left in the box because of 4 wire sets running through the box.  I really had to jam the fan control in.

wp_20160923_004wp_20160923_005

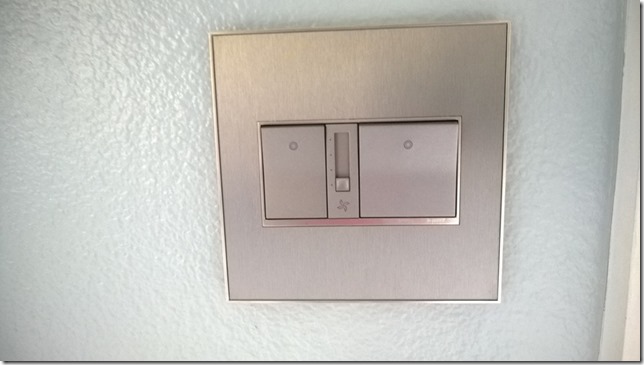
The first result looked really good.

wp_20160923_007

But unfortunately, it didn’t work.  So I had to take it all apart again.  Let me say, the snap-in feature of the Adorne switches is great going in, but if you have to undo it, that feature really works against you.

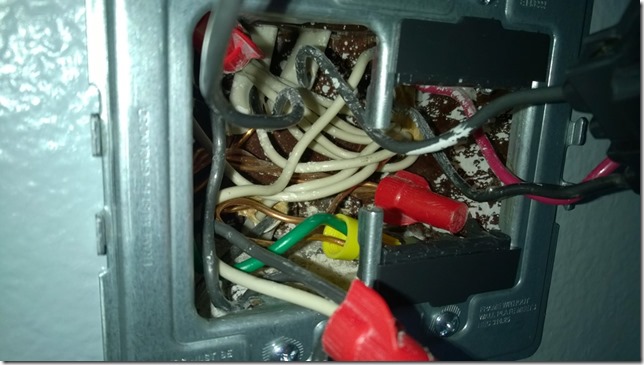
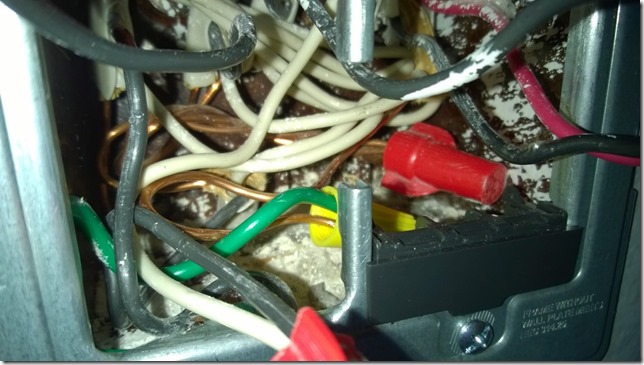
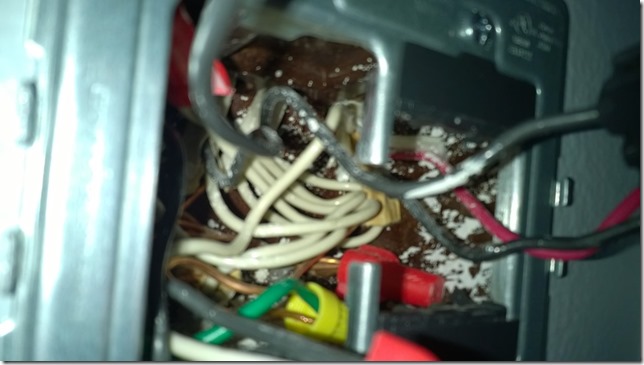
When I got the mounting plate back off the wall, I found one of my light switch wires had come detached.  Maybe that’s why it didn’t work?  Maybe it pulled out when I was yanking everything apart?  Hard to say.  But here’s an idea of what kind of a rats nest was behind the plate.

wp_20160923_009wp_20160923_010wp_20160923_011

I reconnected the light switch and made sure to test it out before committing it back to the wall plate.  This time around, there seemed to be less space available.  Even less so when I got to the fan switch.  It was a pretty stupid amount of pressure to get them pressed in place.  But they locked in and are secure.  I shouldn’t ever have to take that back apart again.

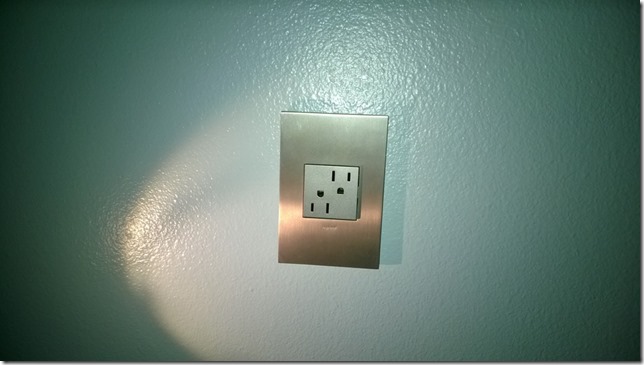
That project was completed the morning after I started.  The previous night after I ran out of daylight, I figured I could do a couple of outlets, since they just involved a couple of wires.  All I needed was a small spotlight to work with.  The end result of those was pretty good.

wp_20160923_012

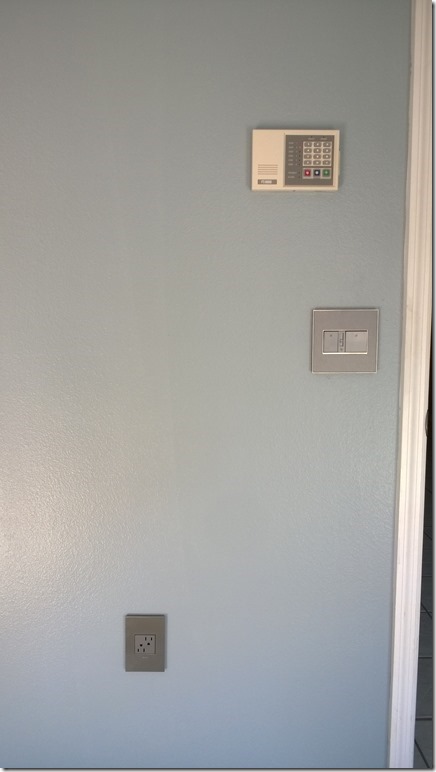
The next morning I also installed the security system panel, and none too soon.  The system had been unplugged the entire time I was prepping and painting the bedroom, so the smoke detector had just started to beep out a low battery alarm.  The final result of the security panel, light switch and outlet is:

wp_20160924_004

The rest of the room will be done shortly and then it’s time for decoration and furnishing.

Ceiling Fan Finally Up

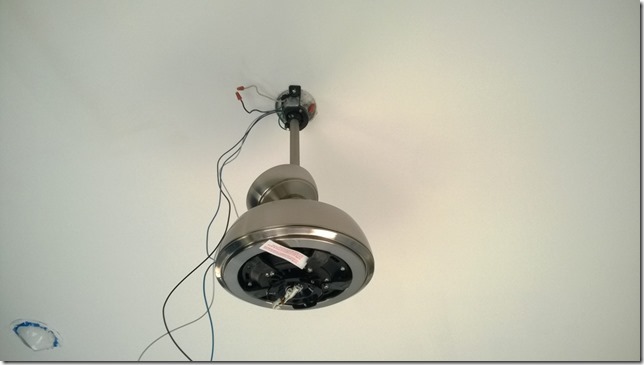
This has been a really long time coming, but the ceiling fan finally got installed.  And along with that, the first Adorne pieces were installed as well.  There’s nothing exciting about a ceiling fan install.  The only thing that varied was exchanging the provided downrod with a longer, 12” downrod.  That was a piece of cake.

One small snag I ran into was the mounting of the ceiling bracket.  I guess the fan makers don’t include screws to mount the bracket to the ceiling box.  I grabbed a couple of screws I had left over from the light switch install and they weren’t the right size.  So I went to my recently-populated small parts cabinet and pulled the drawer of machine screws.  Turns out the screw size I needed was the same as the ones used by cabinet pulls.  However, all the screws were too long.  I’ve been there before and that’s not a problem anymore since I learned the trick when installing the cabinet pulls.  A couple quick cuts and I was back in business.

Anyway, this fan is not of a brand that you see everywhere, like Hunter and Hampton Bay.  It’s Ellington, by Craftmade.  I’ve installed a few fans by the formerly-mentioned brands and the difference between them and the Ellington is notable.  There seemed to be a lot more thought put into the Ellington.  It had a few redundant safety features that were nice to see.  I also noticed the pitch of the blades was more dramatic and as such, the fan moved a lot more air.  My research has told me that in order to power fan blades with a greater pitch, you need a more powerful motor, so there’s that, too.

Partially installed:

wp_20160924_002

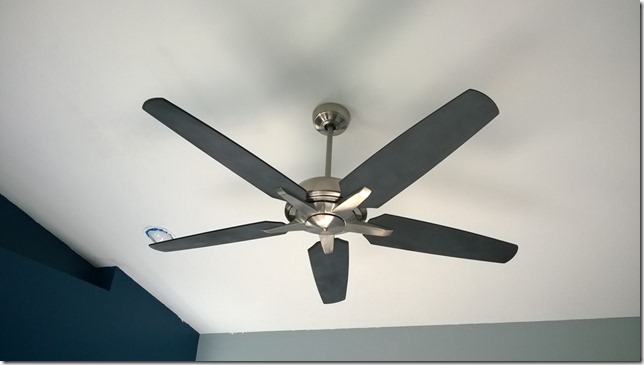
And completed:

wp_20160924_003

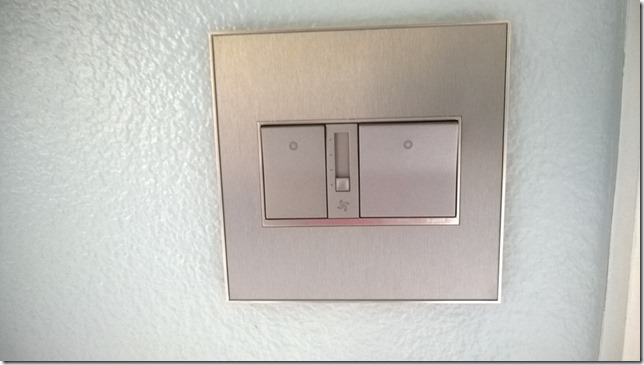
The painted blades look just fine.  The control for the fan is a specialized Adorne fan control, which got installed with the ceiling light switch.

wp_20160923_0071

The details on the Adorne install will be in another post.

Fan Arrival, Prep And Stupidity

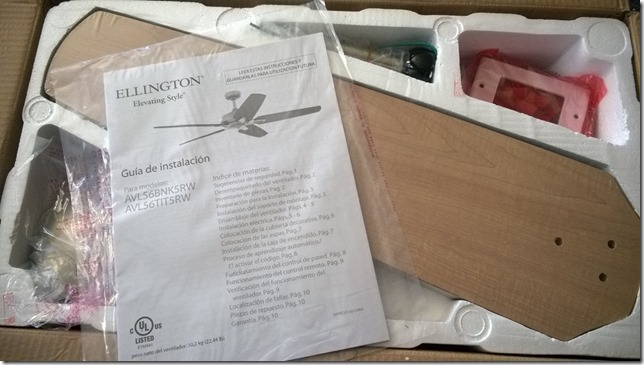
The “Bala” fans arrived yesterday and as I suspected, they are really Ellington fans.

wp_20160825_001

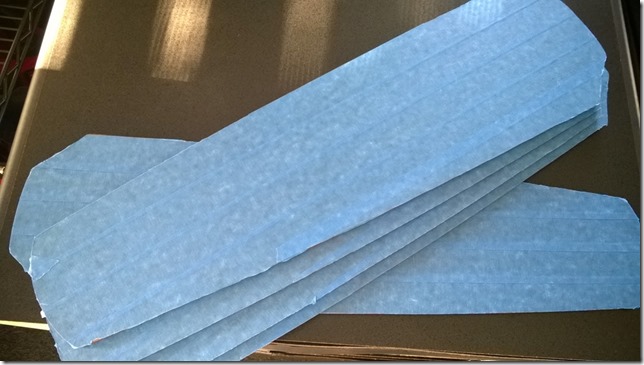
I immediately got to work converting the blades from wood tone to black.  The first thing I did was mask the darker side just in case I messed everything up and needed to revert to something original.

wp_20160825_002

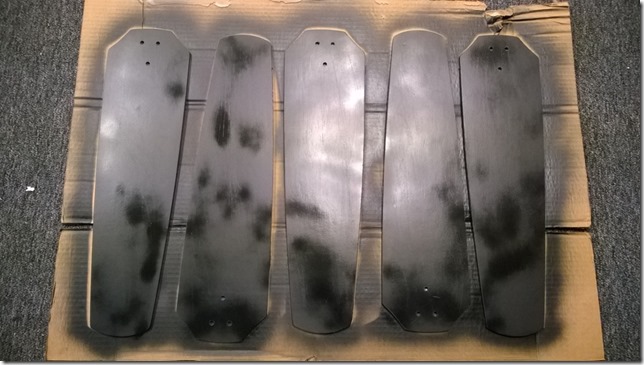
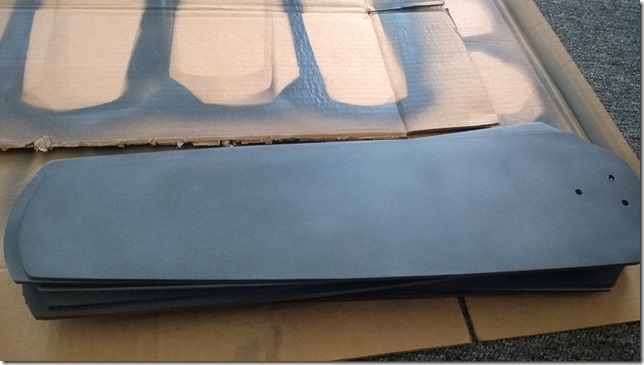
I scuffed up the lighter side and used some spray paint (Valspar Satin Black).

wp_20160825_005wp_20160825_004

That’s where things got stupid.  Being in the South, the humidity here is typically over 100%, so painting is typically a futile effort, or at least the drying portion of the painting is.  Somehow, my brain said that I should paint these in a lower humidity environment, like my garage.  My garage is not really a garage, it’s been converted into a game room.  The bottom line is I spray painted the first set of blades inside my house.

After the first coat I stepped back and realized what I had done.  My fuckup was pretty obvious with the cloud of paint spray floating around and reflecting in the sunlight.  I closed the door off to the house, opened the windows and turned on a fan.  At least I could contain this stupidity, right?  I took the other set of blades outside, sprayed them and brought them back in to dry.  That would’ve been the smarter thing to do the first time, but what’s done is done.

But it was far from done.  While the blades were drying, I went around back and took care of the pool.  When I finished there, I went back in the house and was floored with paint fumes.  The game room was closed off, but the game room is also air conditioned.  That means it has a return register.  That means the paint fumes enclosed in the game room got sucked up into my A/C and efficiently distributed throughout my entire house.

I spent the night with all the house windows open and fans running everywhere.  The morning wasn’t too bad.  The house was about 77 degrees.  Today, I’ll pick up some matte clearcoat spray and tonight I’ll give a light sanding to the blades, give them a second black coat, then clearcoat them.  That should finish them up.

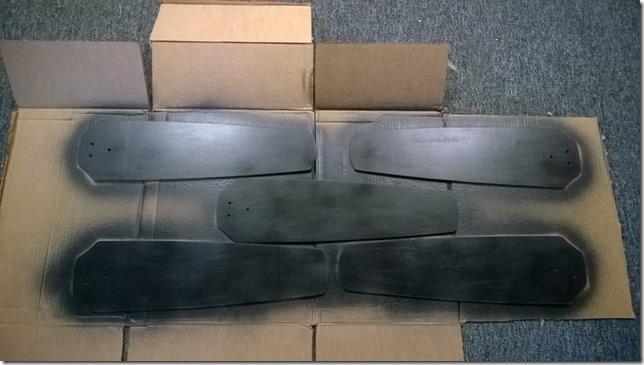
The next day, I shot the blades again with black paint and let it dry overnight. The next morning, I sanded the blades smooth again and shot them with the matte topcoat.  Immediately, something didn’t look so great about the result.  After drying, the topcoat had given the blades a slightly silver tone, they weren’t a deep, dark black anymore.  Sigh.

I sanded down the clearcoat and it looked better, but still had some shading issues.  Everywhere there were slight divots in the surface, the clearcoat was lighter.  So, my lesson from that is to only topcoat when you have a perfectly smooth surface.  But I accepted it the way it was and planned to use it.  The good thing is that after the final sanding, the blades were very nice to the touch.
wp_20160827_001

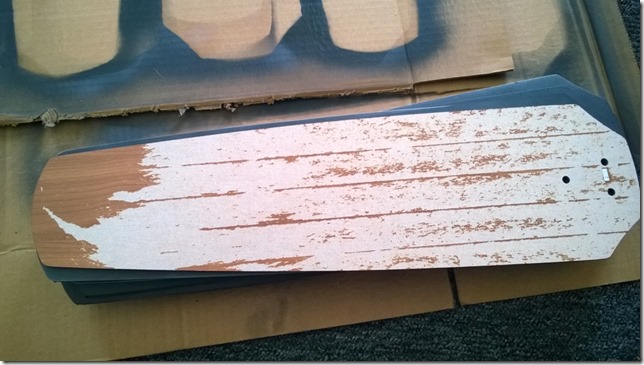
I considered the project complete, so I just had to take off the painters tape from the other side and I’d be done.  I started peeling the tape and disaster struck.  The tape was pulling up the laminate layer on the blade.  As soon as that happened, I knew it was over.  There’s no way to repair that.  So, like a sensitive bandaid, I ripped it off.

wp_20160827_003

And I ripped the tape off every other blade.  None were spared.  Every single one was entirely ruined.  So my clever idea of salvaging one original blade finish was pointless.  And in the end, I now have to prep and paint this side of the blades, too.

And this time, I’ll be a little wiser about where I do the spraying.

Master Closet Nearing Completion

And the chosen layout is:

image2

And that’s the first step.  The bigger task at hand is deciding how to lay out the shelves, drawers, etc, inside the wardrobe units.  Some things that have been decided:

  • Pants hangers in deep units are a waste of space.  Get a wide one for the 13” unit.
  • Similarly, you can’t hang shirts sideways in a shallow unit.  Get hanging rods for the 23” units.
  • 8-ft units are obscenely tall.  There needs to be a shelf at the highest level.

And that’s about the extent of what I could mentally process at one time.  I tried to come up with a design, even involving the Pax planner (which is very cool).  But in the end, I just bought the frames and some rods and top shelves.  I wanted to see the frames installed so I could give more consideration as to how I wanted to lay out the drawers and other shelves.

That might have been a very good idea, because the two frames that are perpendicular to each other might pose some problems with drawer pull-out depth – as in, I may not be able to extend the drawer completely.  So maybe simple shelves may be better there.  I still haven’t even committed the units to the wall yet with anchors, so I could potentially swap the wide and narrow 23” units before I’m done.

Master Bedroom Coming Together, Laundry Room On Deck

The master bedroom was the first major room to be redone and it’s taken much longer than expected.  But that’s ok because it was just done in small blocks of time and effort.  Yesterday, I ordered the bed frame – king size – and today, I ordered the new mattress – Purple.  This will hopefully be a great experience when it’s done.

In the meantime, I need to plan out the wardrobes for the master closet.  I initially thought it would be extremely easy, but the more I work at it, the more difficult it becomes.  It’s funny, you see the empty closet and you say “that’s a huge closet”, then when you try to plan out some wardrobe frames, there’s suddenly not enough room.

image image1

image2 image3

And, I want to get started with the next room, which will probably be the laundry.  The laundry was going to be first room, but a desire to have a fresh living environment (or just sleeping environment) took precedence.

The laundry room suffers the most from a failing ceiling light.  It’s been quite a while that the fluorescent ballast starting going bad and I wasn’t convinced to spend the money on a new one.  First, T12 lights are discontinued.  I didn’t want to start investing in T8 bulbs if I was going to redo everything as LED.  So, I just let it continue to flake out.  The light output is probably about 50% and flickers like mad.

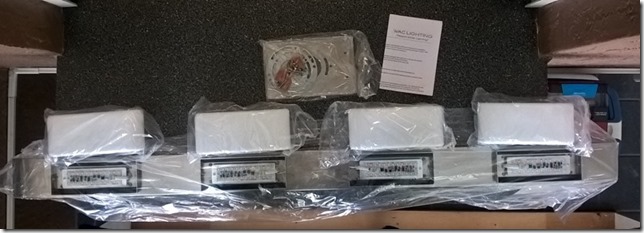
In order to start that process, I needed to have a plan for a new light.  I remembered my mantra: “only quality.”  And I wanted to have unique pieces, things you couldn’t just go out and buy from Home Depot.  Well, after a lot of searching, I found a unique LED light, but it is available at Home Depot.  It’s the Pixi Flatlight Luminaire.

21Ed3r6W9dL._SX300_

It’s only 1/2” thick.  It’s LED.  It’s square (actually 1’x4’ is the one I want). It’s not cheap.  Sounds perfect.  I can get it from Amazon in two days.

Master Bedroom Progress, Still Not Completion

The master bedroom.  The room that refuses to be completed.  Around the time I was working on the laundry room, I was waiting for bedroom stuff – the bed frame and the mattress.  Then, just like my laundry room ceiling light was surprise delivered, so was everything else.

I started the laundry room on a Thursday, my usual laundry day.  My mattress was scheduled to be delivered sometime Friday.  With a hurricane also scheduled to arrive that day, I took the Friday off work so I could get the mattress inside immediately instead of having it sit in the rain and become a big hurricane sponge.

Surprise, my mattress showed up Thursday.  Luckily it came between downpours and it got inside with no issue.  That’s 140 pounds of mattress now sitting in my staging area.  And I still had about 3 weeks before the bed frame would show up.

wp_20161006_001-1

I kept my Friday off work and used the day to work on the laundry room, making great progress.  Saturday, I get a call from the furniture company delivering my bed frame.  Surprise, they’re coming tomorrow at 8 in the morning.  Uh, ok.  I have a washer and dryer blocking the door and crap scattered everywhere.  But I made it work.  I was at the point of getting ready to paint the ugly yellow paint in the laundry room when they showed up.  A short while later, I had an assembled bed in my master bedroom.

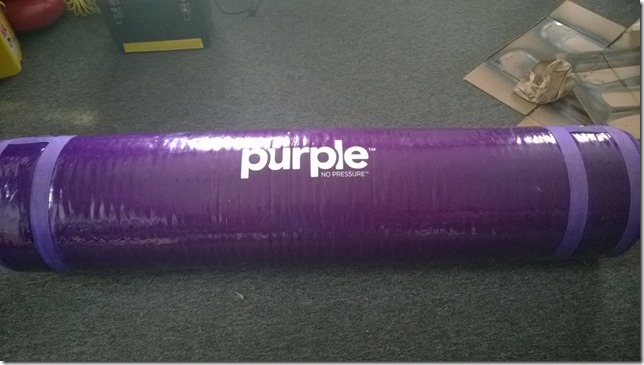
While it’s there, might as well install the mattress.  The GF and I hauled the mattress in and opened up the case.  The mattress is a Purple, the fancy new online-only mattress.  From the initial laydown on it, it’s a really nice product.  However, I can’t really sleep in there because I don’t have curtains.  I did take a short nap on it after work and was disturbed twice by neighbor children coming to the windows.  I think they were catching lizards on the window screen, but still, what the fuck.

To explain the chain of dependencies involved in beginning to actually use the master bedroom, it’s like this.  I couldn’t use the room until it was repainted.  After it was repainted, I couldn’t really use it until I moved my closet.  I couldn’t move the closet until I had the wardrobes.  Now with wardrobe frames installed, I still can’t fully use the closet until I have the drawers for the wardrobes.  Despite that, I couldn’t use the bedroom until I had a bed or a mattress.  Now that I have those, I can’t use it until I have curtains.  I have curtain rods on order and still have to buy curtains.  I also have to buy a comforter.  I still don’t have any nightstands.  At this point, the earliest I may be able to use the bedroom is next Wednesday.

Laundry Room Redo

In a burst of motivation, I decided to tackle the laundry room.  This involved scraping the ceiling, painting the ceiling and walls, replacing the light fixture and the outlets and switches.  I had a couple full days to work on it plus an extra evening.

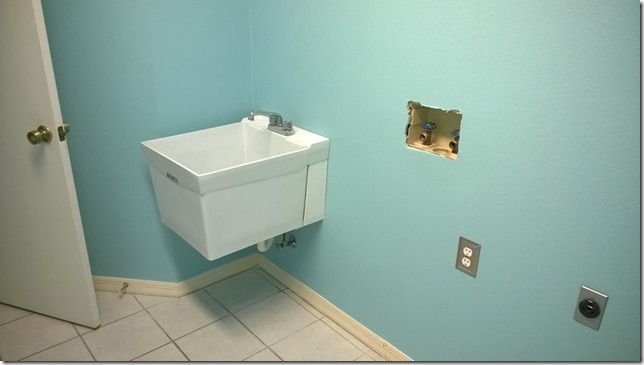
While my laundry was in progress, I first disconnected the utility sink and removed it from the wall.  Behind it was more proof that the house has only ever been yellow.  Also, proof that the paint was the last thing to happen to the house.  I am somewhat amazed that the painting was done with all the fixtures and panels mounted on the wall.  That’s a lot of things to protect from paint.  but anyway, I think I’m doing things the right way by removing everything from the wall before painting.

After the sink was gone, the wire shelf was taken down and all the holes patched.  Eventually, I will be installing cabinets.  That may not happen for a little while, but it should be soon.

As my laundry was completed, I moved out the washer, then the dryer from the room.  Then I shut off the power and took the ceiling light down.  As I’ve mentioned before, the fluorescent light had a failing ballast, so it was dim, dim, dim.  I took a reading of the light output and got:

wp_ss_20161006_0003

Pretty poor.  I wasn’t entirely sure how quickly I would get through this project, so I jumped online and ordered the ceiling light – a Pixi flatlight.  I also made a quick order for the Adorne switches, plates and outlets for the room.  I didn’t think I’d need the light for a while, so I ordered it with standard shipping, giving me almost a week to finish up.

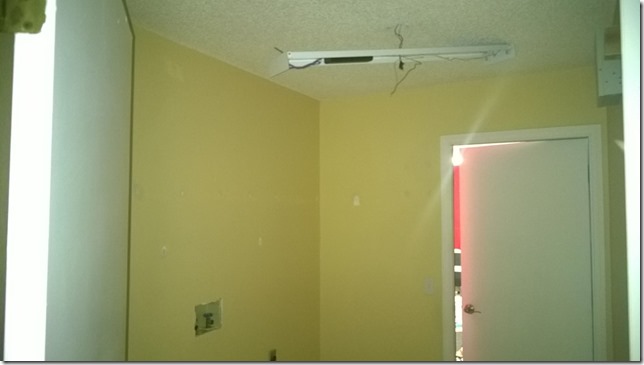
This is what I started with:

wp_20161006_006

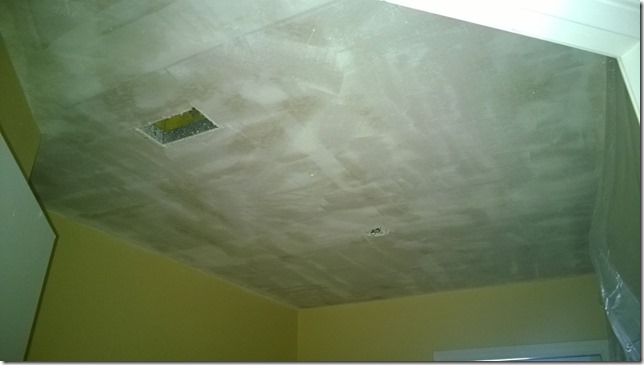
The ceiling work went much better than expected.  I adjusted the garden spray and got much more water up there, which helped a lot in getting the popcorn down.  I also spent extra time scraping to reduce the amount of sanding.  Finally, I used a courser grit sandpaper to get the remaining bits off.

wp_20161007_002

Priming was uneventful and worked well.  Priming the walls was pretty ok.  It wasn’t a full coverup of the yellow underneath, but it would be good enough for the paint+primer I had planned.

While that was drying, I headed out to Lowes and got the paint for the walls.  The paint was a very, very light yellow called Crisp Linen.  In hindsight, I was probably attracted by the name more than the color.  I did a quick cut-in with the paint and decided to take a break because annoyance was setting in.  I’m learning what my limits are.

Suddenly, the USPS delivers a package.  It’s my ceiling light.  It showed up four days early.  So I took the time to install it – poorly at first, then better the second time.  Still not as good as it should be, but that will be the third time.  The light output is pretty amazing.  Look at the difference:

wp_ss_20161012_0002

1200 lux vs. 110 lux!  One of the things the new light did was expose what a poor color choice I had made.

All of the areas where I cut in looked terrible.  It’s a good thing I didn’t go any further with my painting.  Valspar has a guarantee that if you don’t love the color you picked, you can exchange it for another.  So I took the paint back to Lowes and said, “I hear Valspar has a ‘love your color or we’ll replace it’ guarantee.”  The cashier says, “Oh, we’ll take it back.” and without any explanation needed, I got the paint credited back to my credit card.

I purchased a new color, Sherwin Williams “Cay”, and immediately got it on the walls.  It covered extremely well.  While it was drying, it looked streaky as hell, but it dried solid and was a much more pleasing color then the urine yellow I had started with.

I reinstalled the slop sink and put new outlet covers in where I wasn’t going to update to Adorne.  I had purchased nice heavy-duty metal outlet frames and if I wasn’t going with Adorne, I would say these outlet covers look damn sharp against the blue.  I also secured the 220 outlet, which had seemingly stripped the screws holding it in.  Now the outlet is fully flush with the wall.

wp_20161013_003wp_20161013_002

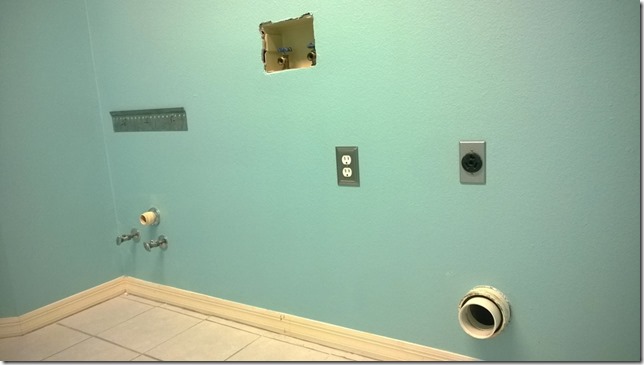
I then returned the washer and dryer to the room.  One issue I have with the dryer is the exhaust vent tubing.  You can see the exhaust port in the first above photo.  I have no idea why the original builder installed a 5” vent port.  A while ago, I fashioned a reducer that would fit inside the vent to provide me a standard 4” port.  While I’m putting the dryer back, I am also changing the venting from the dryer to semi-rigid.  The gist of this problem is the tubing and the vent port force the dryer away from the wall by a significant distance.  To be fair, the non-rigid tubing I was using before had a couple of bends that were really restricting the airflow.  So this venting design is proper, but it still kind of sucks.  I have a idea in mind where I can raise the dryer on a pedestal that will align the dryer output with the vent port.  Then I can make a straight-shot tubing connection and get the dryer nearly flush with the wall.  That can be for another post.

Master Bath Progress

Let’s see, where was I?  It’s been a few months, so it’s hard to tell.  The master bath has been in a paused state.  There’s a couple of ways to go with it.  Both involved new lighting fixtures, which was impossible to decide on.  Going with a single light fixture would be extremely expensive for the size I needed.  Going with two fixtures would involve extra wiring and replacement of the huge mirror.

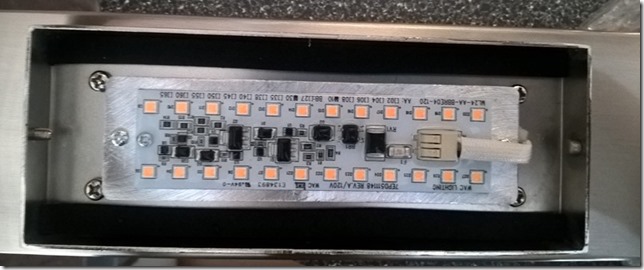
I finally put forth the extra shopping effort and found a 48” LED light fixture that would compliment the other square LED lighting in the room.  The light was $300, which is not bad considering the $700 lights I had been shopping.

wp_20170418_17_10_40_pro

wp_20170418_17_11_33_pro

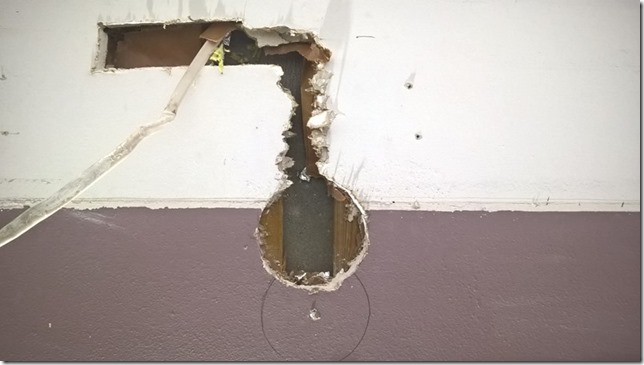
With that decision complete, I now had to install an electrical box for the light.  I used a “pancake” shallow box.  I cut the hole for the box.

wp_20170423_19_10_21_pro

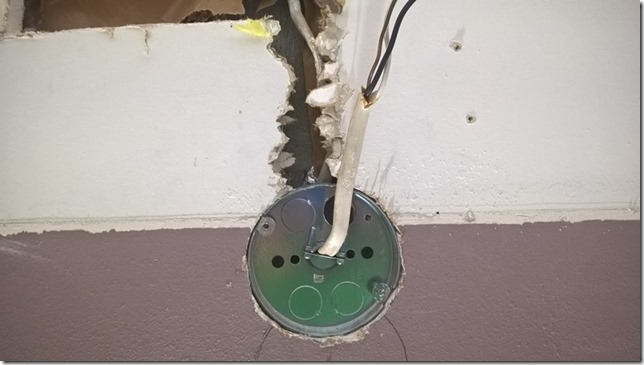
Fortunately my placement let me screw the box into existing furring strips.

wp_20170423_19_12_06_pro

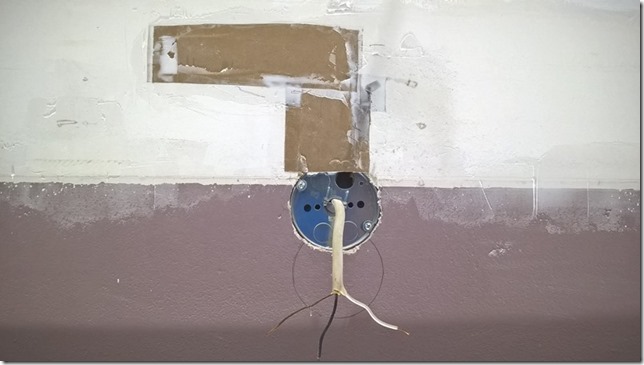
Then it was a matter of patching up the holes I made.

wp_20170426_20_22_51_pro

I expected to get the patching, sanding and priming done by the end of the weekend.  Yeah, right.

Master Bath, Step 1

Today began the process of redoing the master bathroom.  That means removing the popcorn ceiling.  That also means dust everywhere.

Before I started, I had the forethought to seal off the master closet to minimize the dust invasion.  Unfortunately, I was also in a hurry to get started, so I didn’t remove the ceiling light.  That worked out ok, because I did the ceiling in two passes.

After the first pass, I had more than half of the ceiling done.

wp_20170118_18_18_43_pro

You can see there is attic access here, which is just a piece of drywall.  The piece kept shifting as I tried to scrape it in place, so I took it down and scraped it on the floor.

The rest of the ceiling went smoothly as well.  Tiny ceiling light is removed.  Just a few nicks here and there when I was done.

wp_20170118_18_19_00_pro

Without the light soffit in place, it was easy to get at all the parts of the ceiling.  Tomorrow is sanding and patching.

I already have the light fixture to go back in.  It’s the smaller version of the light in the master closet.  Unfortunately, Alico lighting doesn’t have anything similar for vanity lights.  I may still buy the same brand just to provide consistency.  There’s still some time.  I’ll need to figure out how I’m going to wire the lights.